Location Permission

App launch/splash screen showing a centered brand logo icon on a full-screen background with no inputs or navigation. This screen serves as the initial loading/branding state before entering the app.
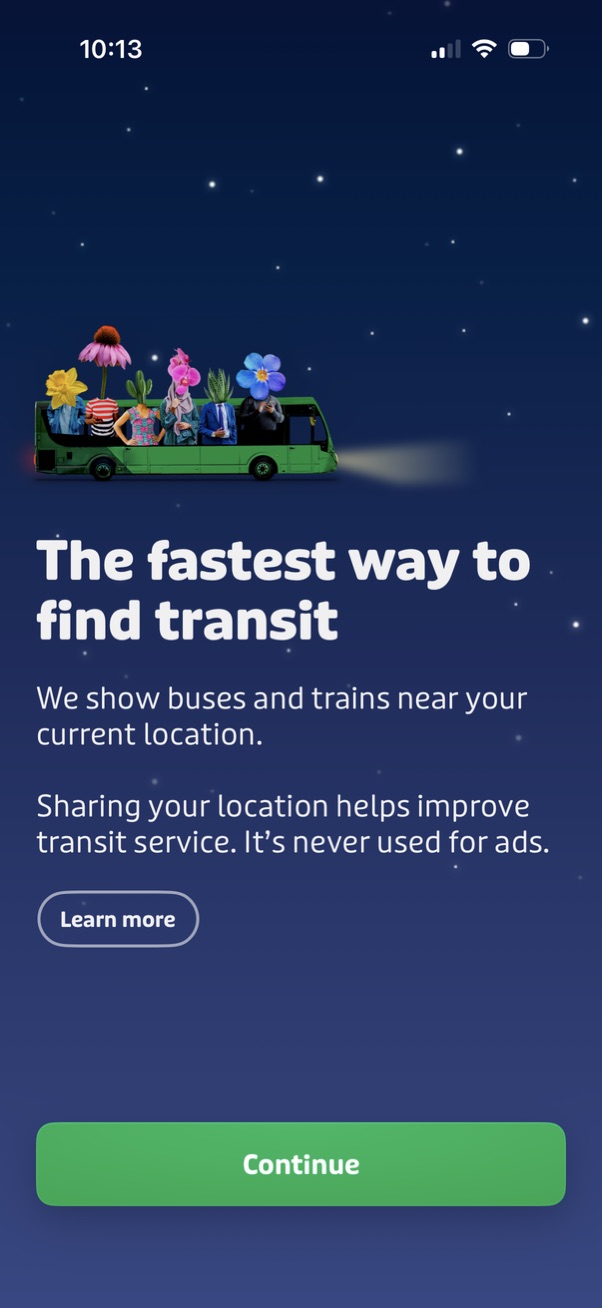
Onboarding screen for a public transit app explaining that it can show nearby buses and trains by using the user’s current location, with a privacy reassurance about location data. Includes a primary “Continue” CTA to proceed and a secondary “Learn more” link for additional details.
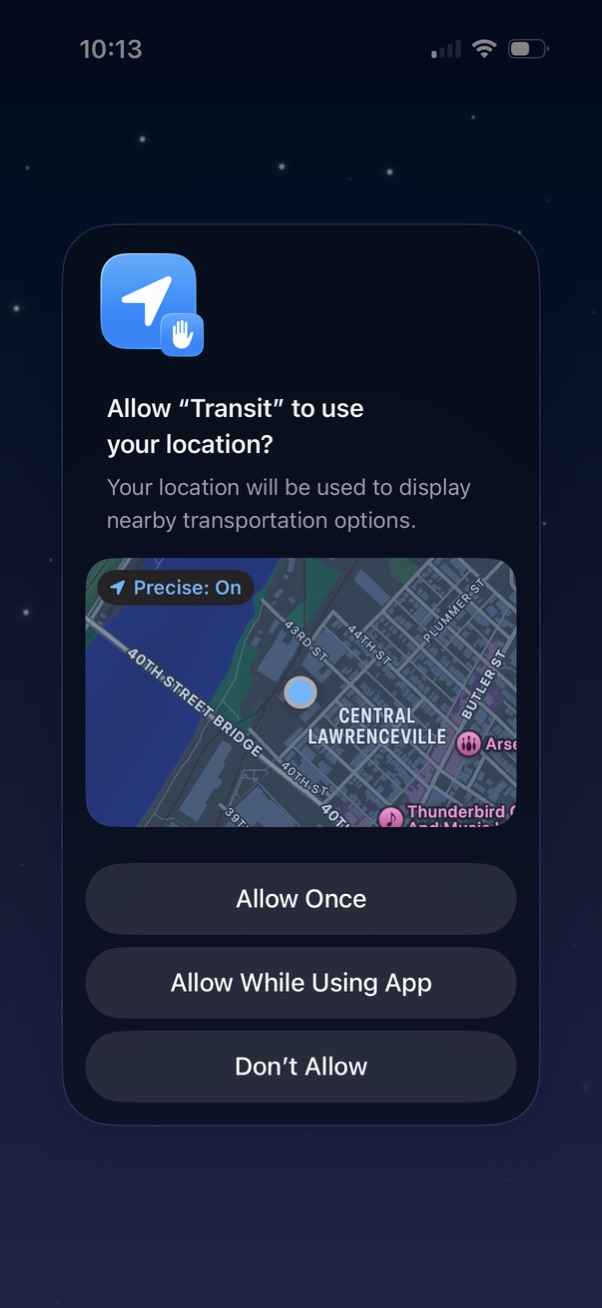
iOS system location permission prompt asking to allow a transit app to access the user’s location to show nearby transportation options, with a map preview and precise location toggle. Primary actions include Allow Once, Allow While Using App, or Don’t Allow.

Public transit home screen showing a map with current location and a prominent “Where to? ” destination search bar, plus a nearby routes list with line numbers, alerts, directions, and next arrival times/last trip info.