manage profile settings
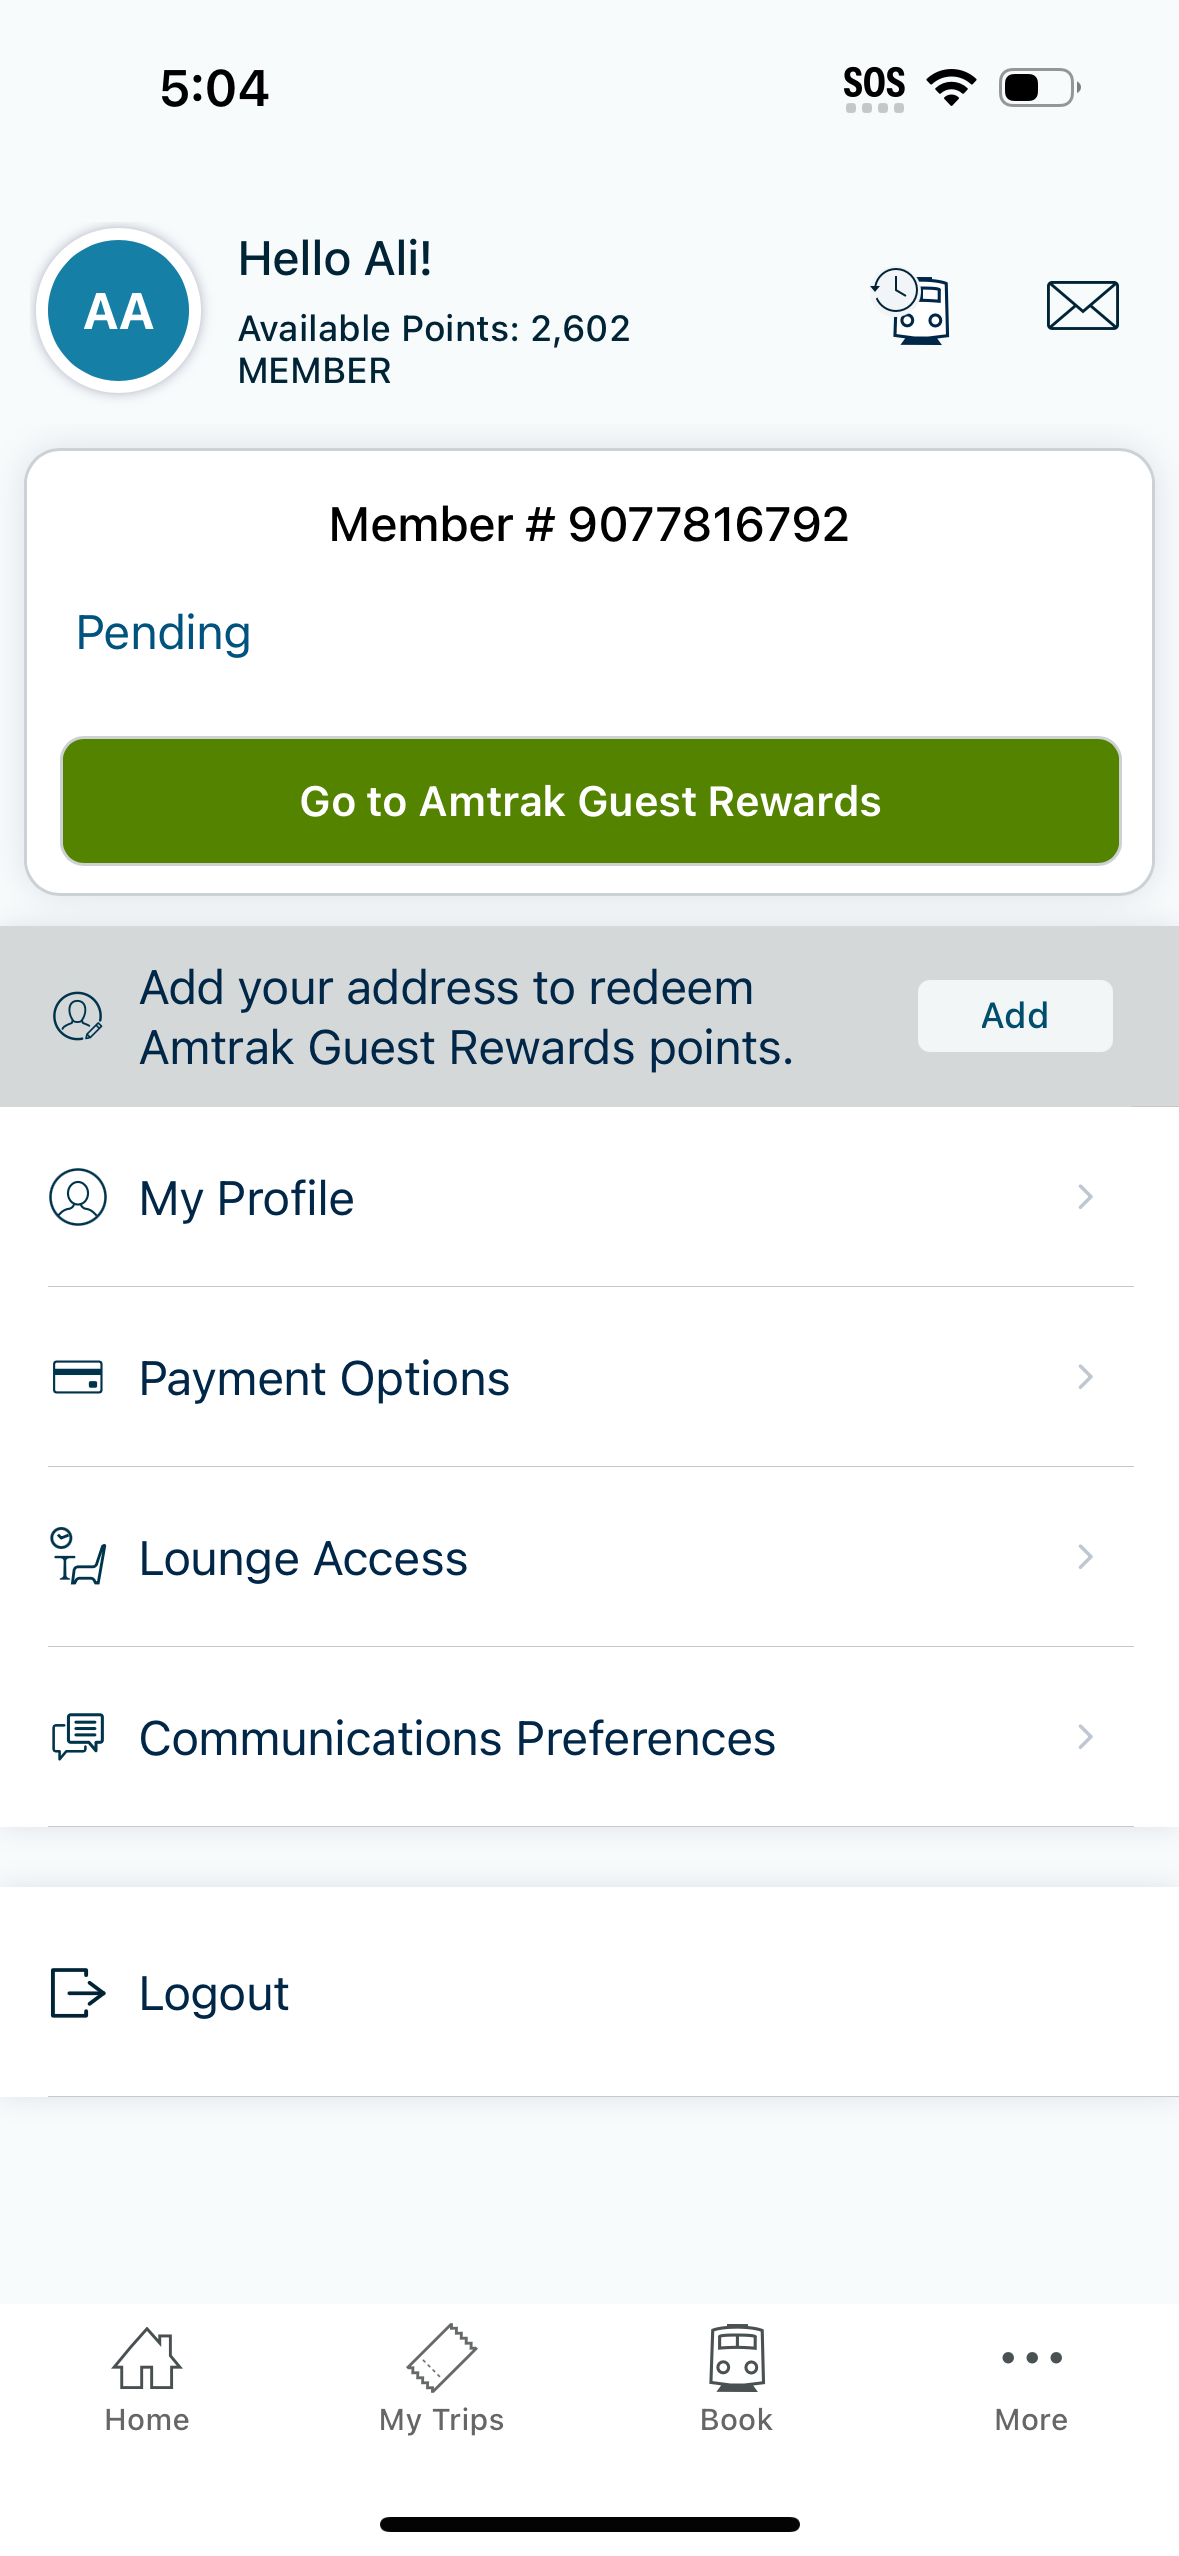
Account and loyalty profile screen showing membership status and available rewards points with a pending rewards section and primary CTA to access the rewards program. Includes actions to add an address for point redemption, manage profile details, payment options, lounge access, communication preferences, and log out.
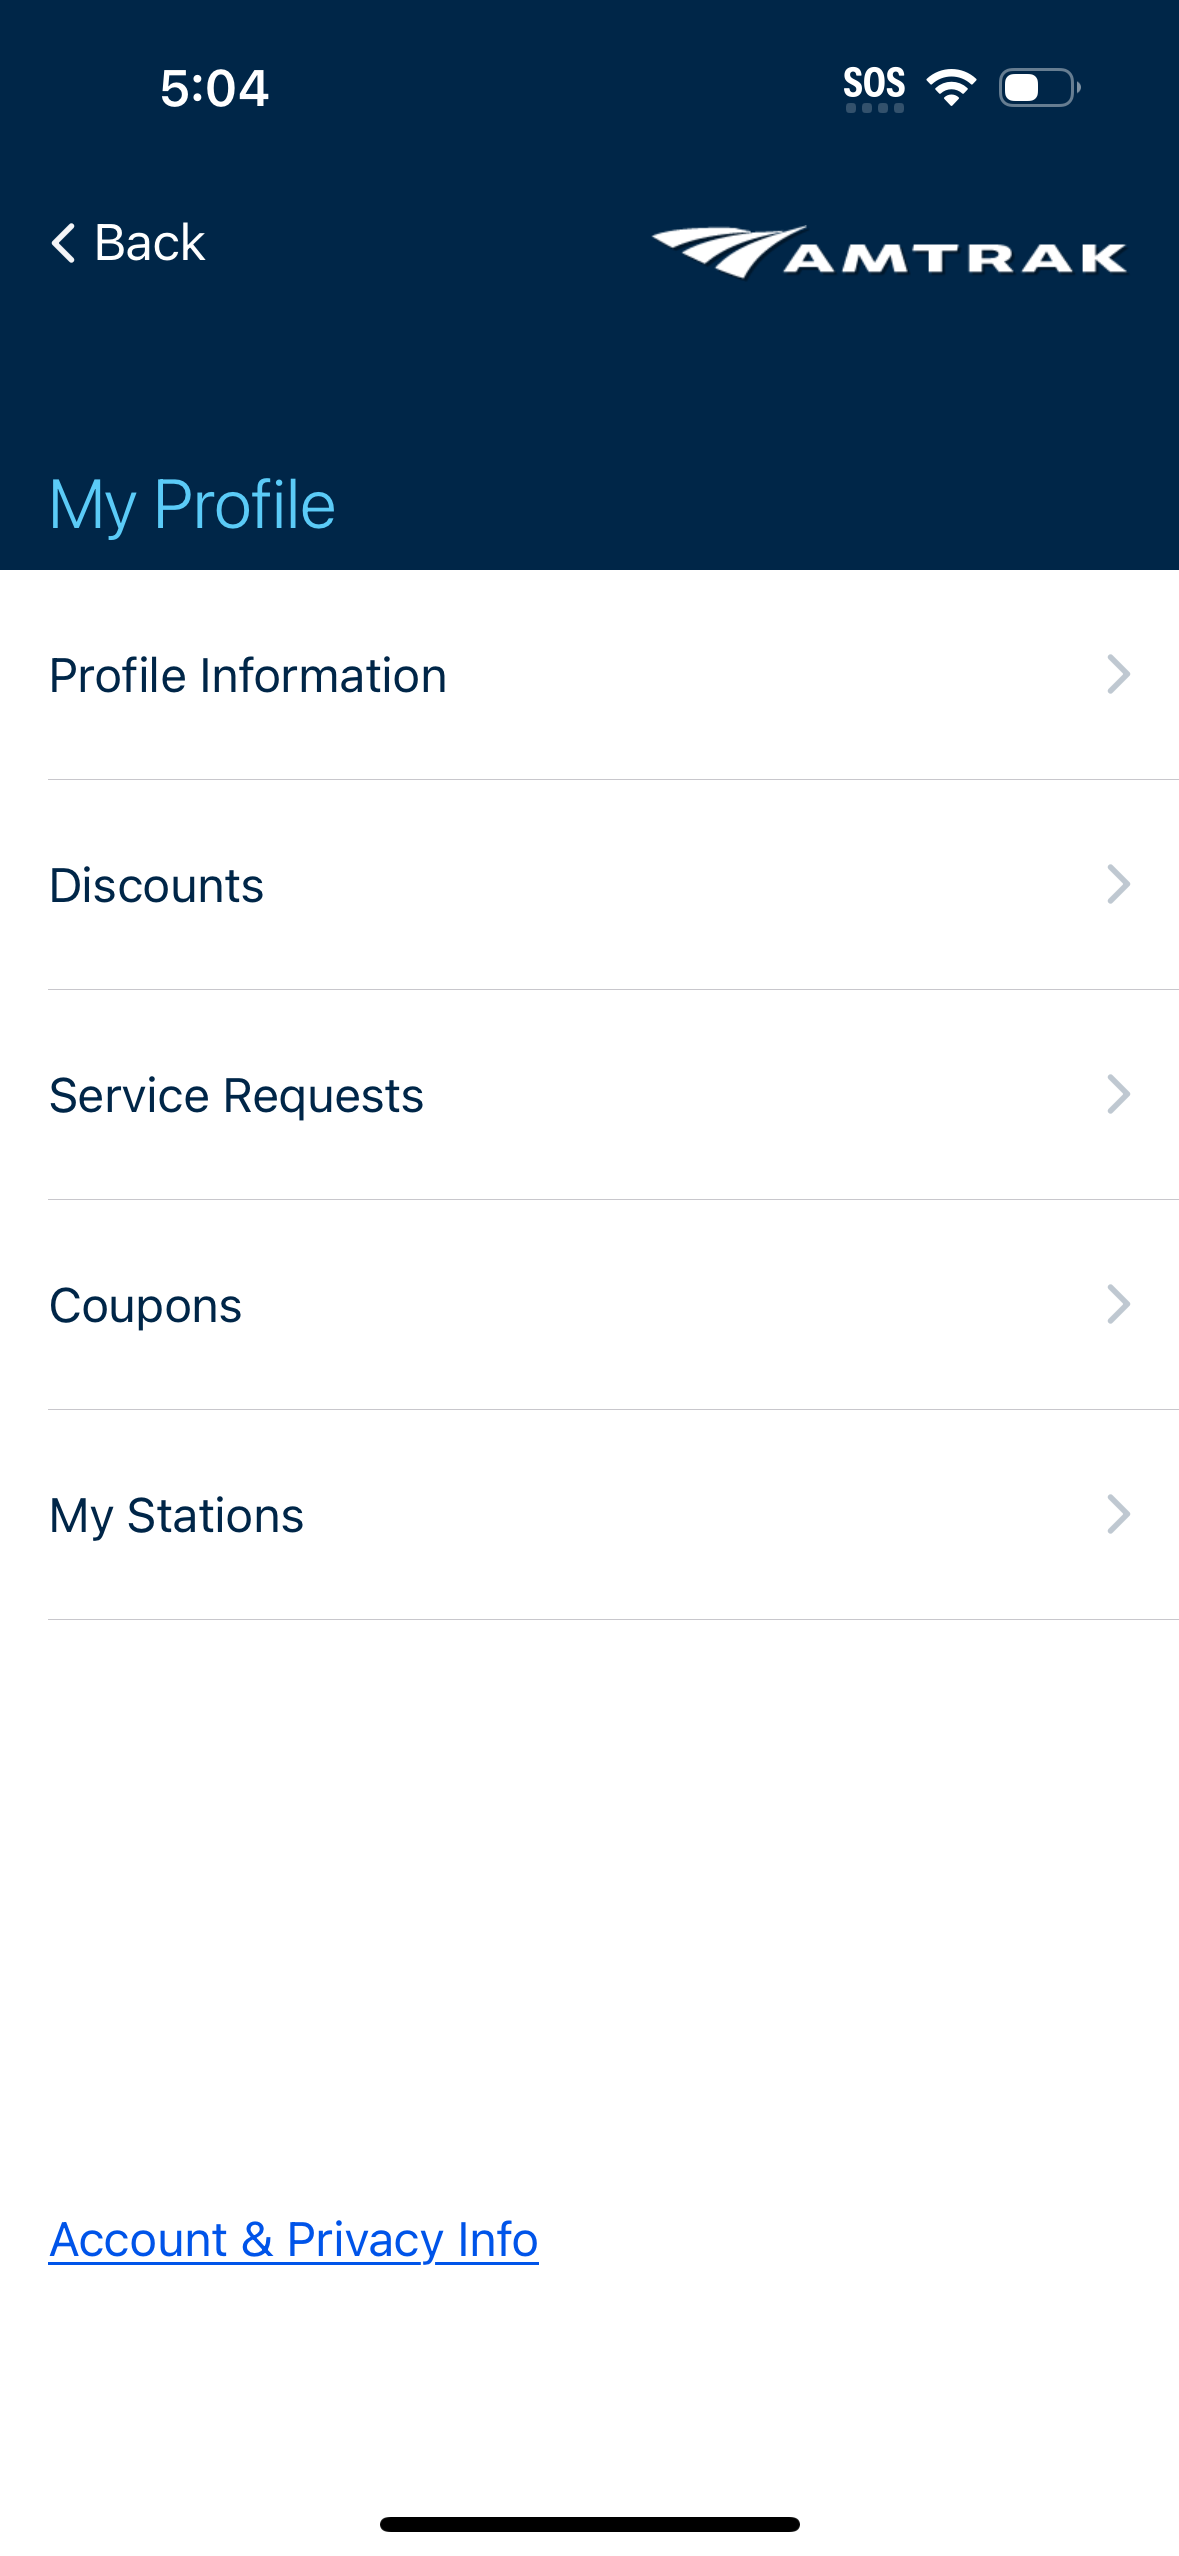
Account profile hub screen in a travel app showing a settings-style list of profile sections with navigation to Profile Information, Discounts, Service Requests, Coupons, and saved My Stations. Includes back navigation and a link to Account & Privacy Info for managing account and privacy details.

Profile information edit screen for a rewards/travel account showing member number, employee checkbox, email with a “Change Email” action, phone number with country code selector, and a billing address form with fields for address lines, city, state dropdown, and zip/postal code. Includes navigation back and guidance for changing the account name via customer support.

Accessibility assistance requests screen for a train travel app where users manage traveler details for station assistance, with options to add traveler information and edit or delete an existing traveler. Includes a dropdown to select a traveler discount and a primary action to return to the profile.

Account coupons screen showing the user’s available promo coupons, currently displaying an empty state message indicating no coupons are available. Includes a back navigation option in the header.

Add Discount selection screen for a travel/booking profile, showing a list of available passenger discount types (senior, active military, veterans, disability, youth, rail association) with radio buttons and notes about required proof or membership numbers. Includes a back navigation and a link to view passenger types and discount details.

Train status lookup screen with tabs to search either by station or by train number. Users select departure station, arrival station, and departure date (with a swap direction control) then tap “Check Status” to view service status and timing.
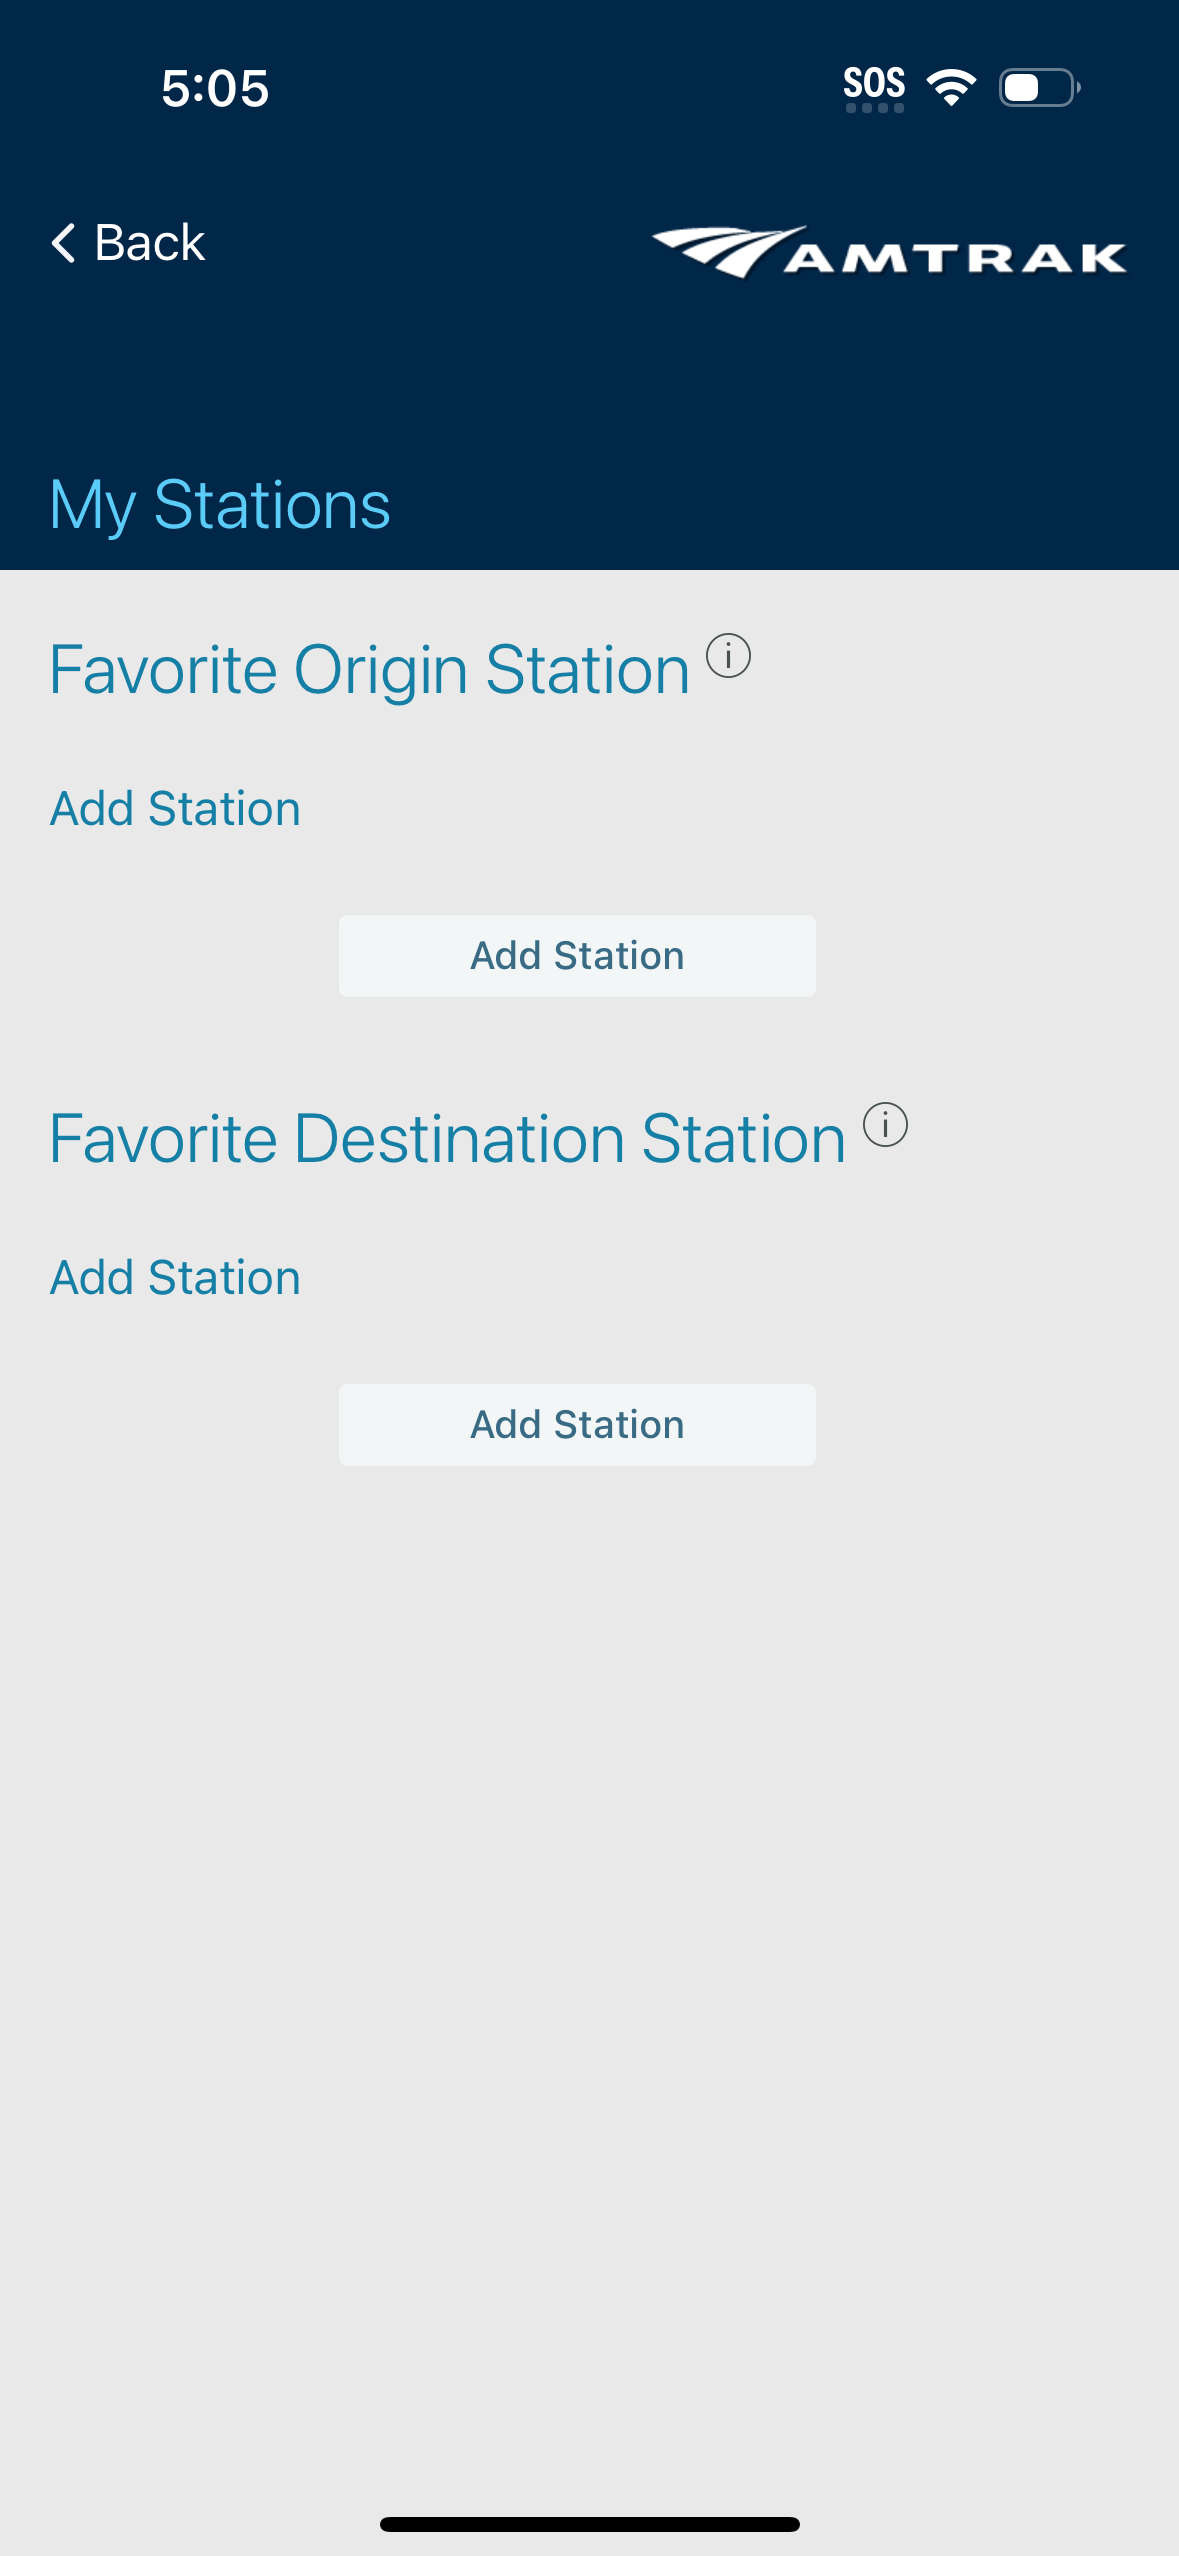
Settings screen for managing “My Stations,” letting users set a favorite origin station and a favorite destination station. Each section includes an info icon and an “Add Station” action button to choose and save preferred stations for quicker trip planning.

Payment Methods settings screen showing a list of saved payment options (Apple Pay marked as preferred, PayPal, and saved credit cards with masked numbers and expiration dates) with overflow menus to manage each method. Includes primary actions to add a new credit/debit card and add a voucher or gift card.

Train status lookup screen with a segmented control to search by station or by train number, plus form fields for station, train number, and departure date. A prominent “Check Status” button submits the query to view real-time train status.