Onboarding

App launch splash screen showing the Peek logo centered on a dark background, with no navigation or actions available while the app loads.
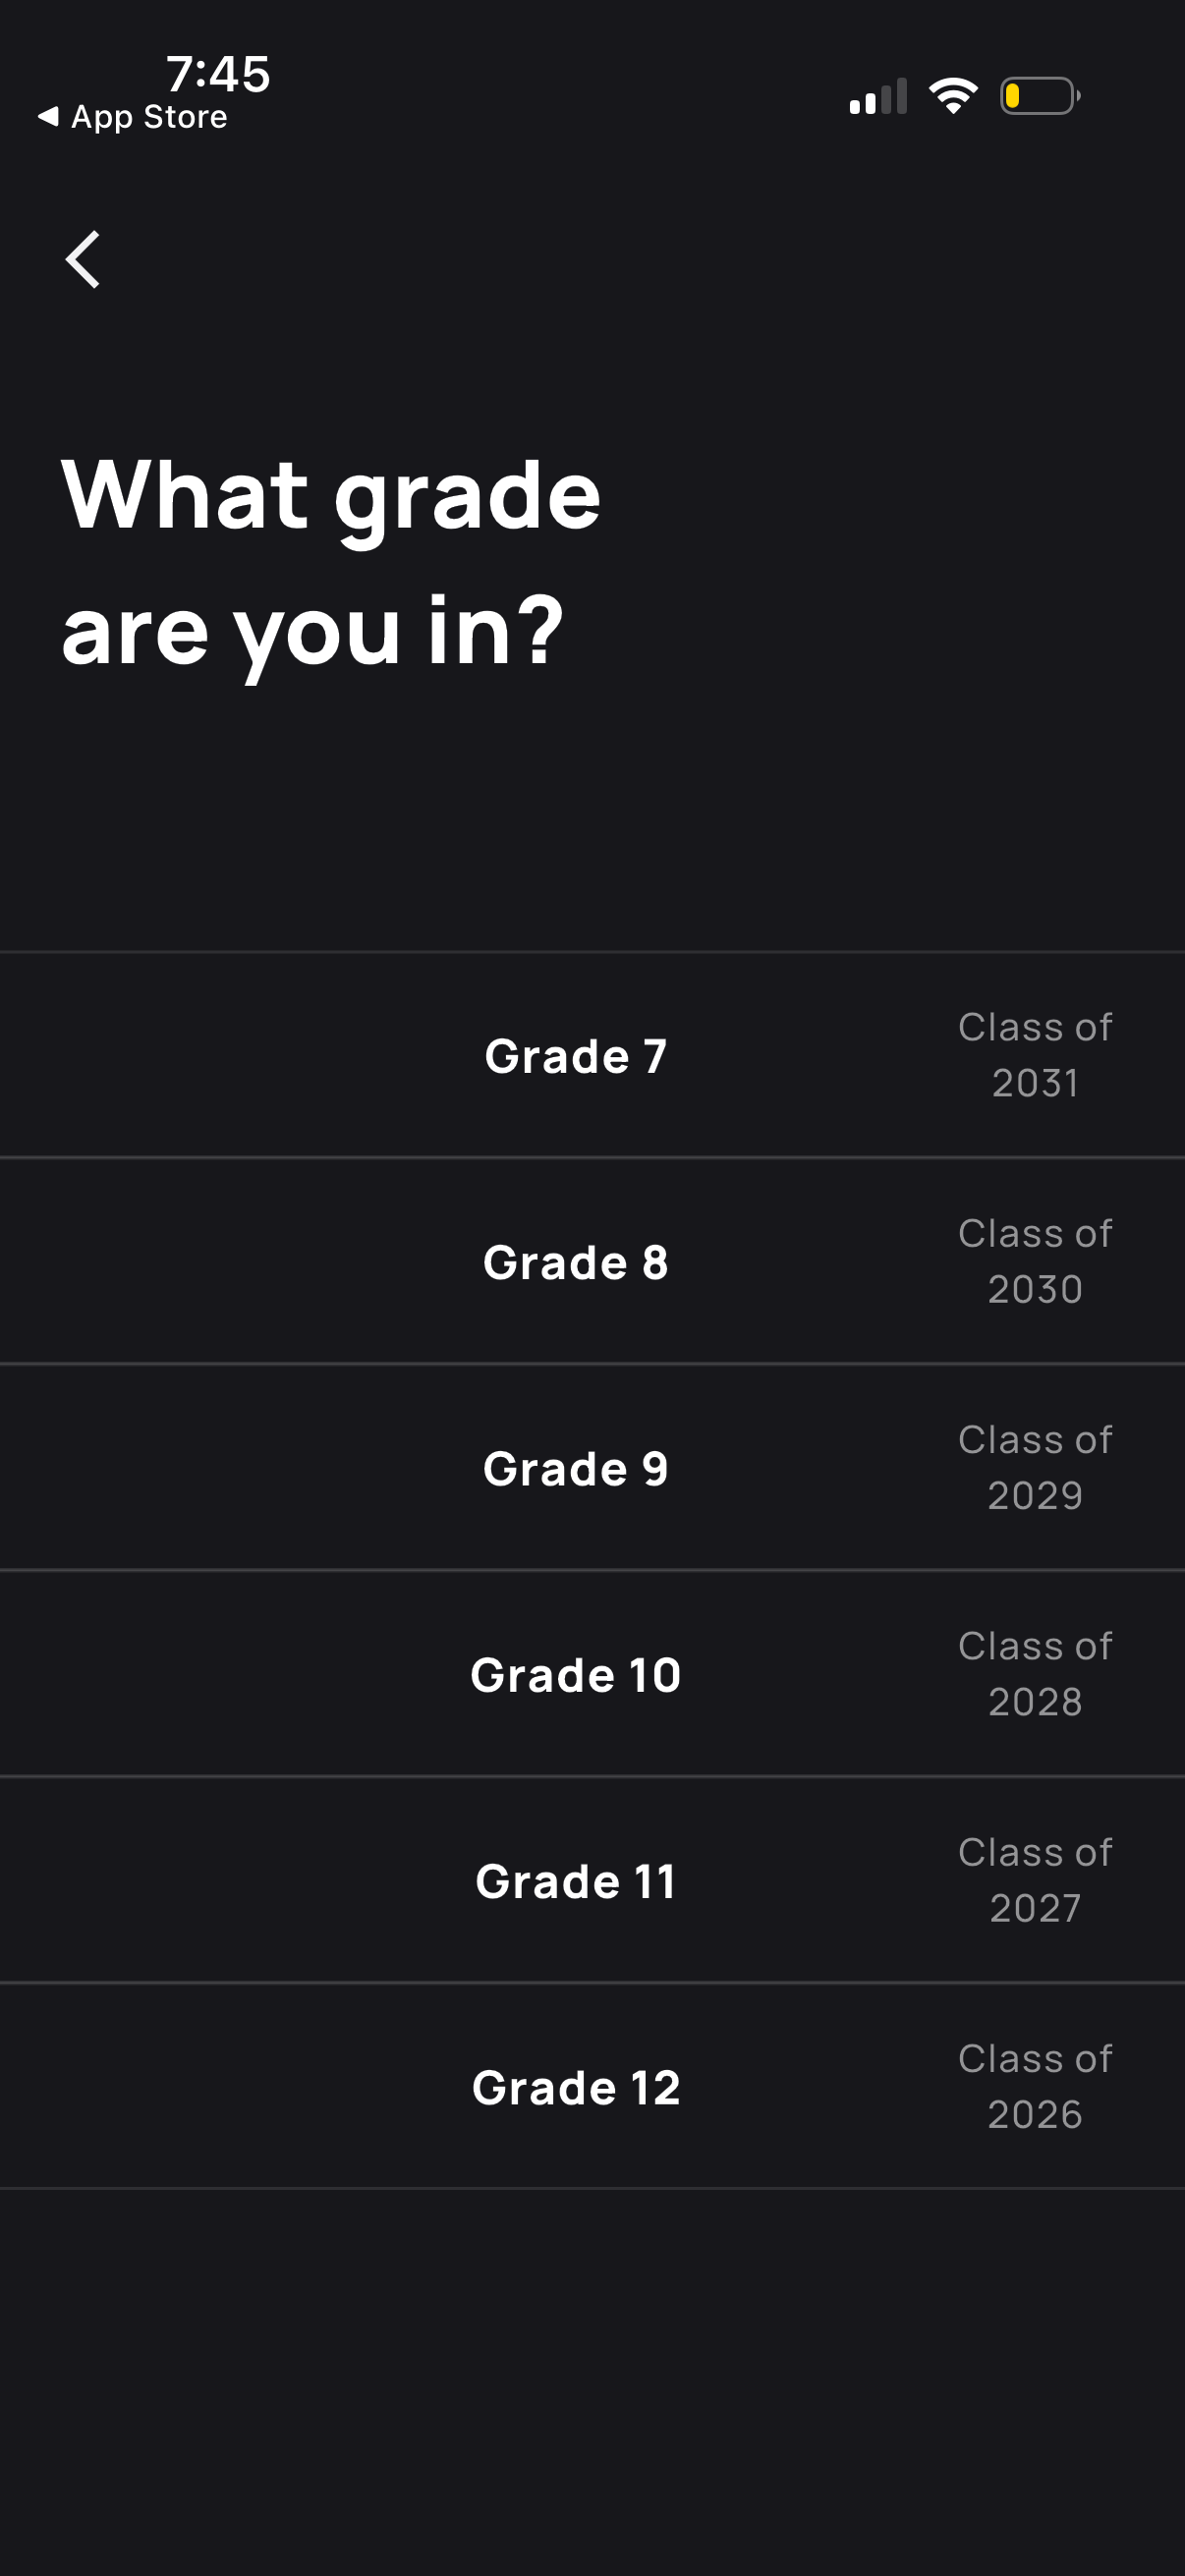
Onboarding profile question screen asking the user to select their current school grade. Displays a selectable list of grade options (Grades 7–12) with corresponding “Class of” graduation years and a back navigation control.
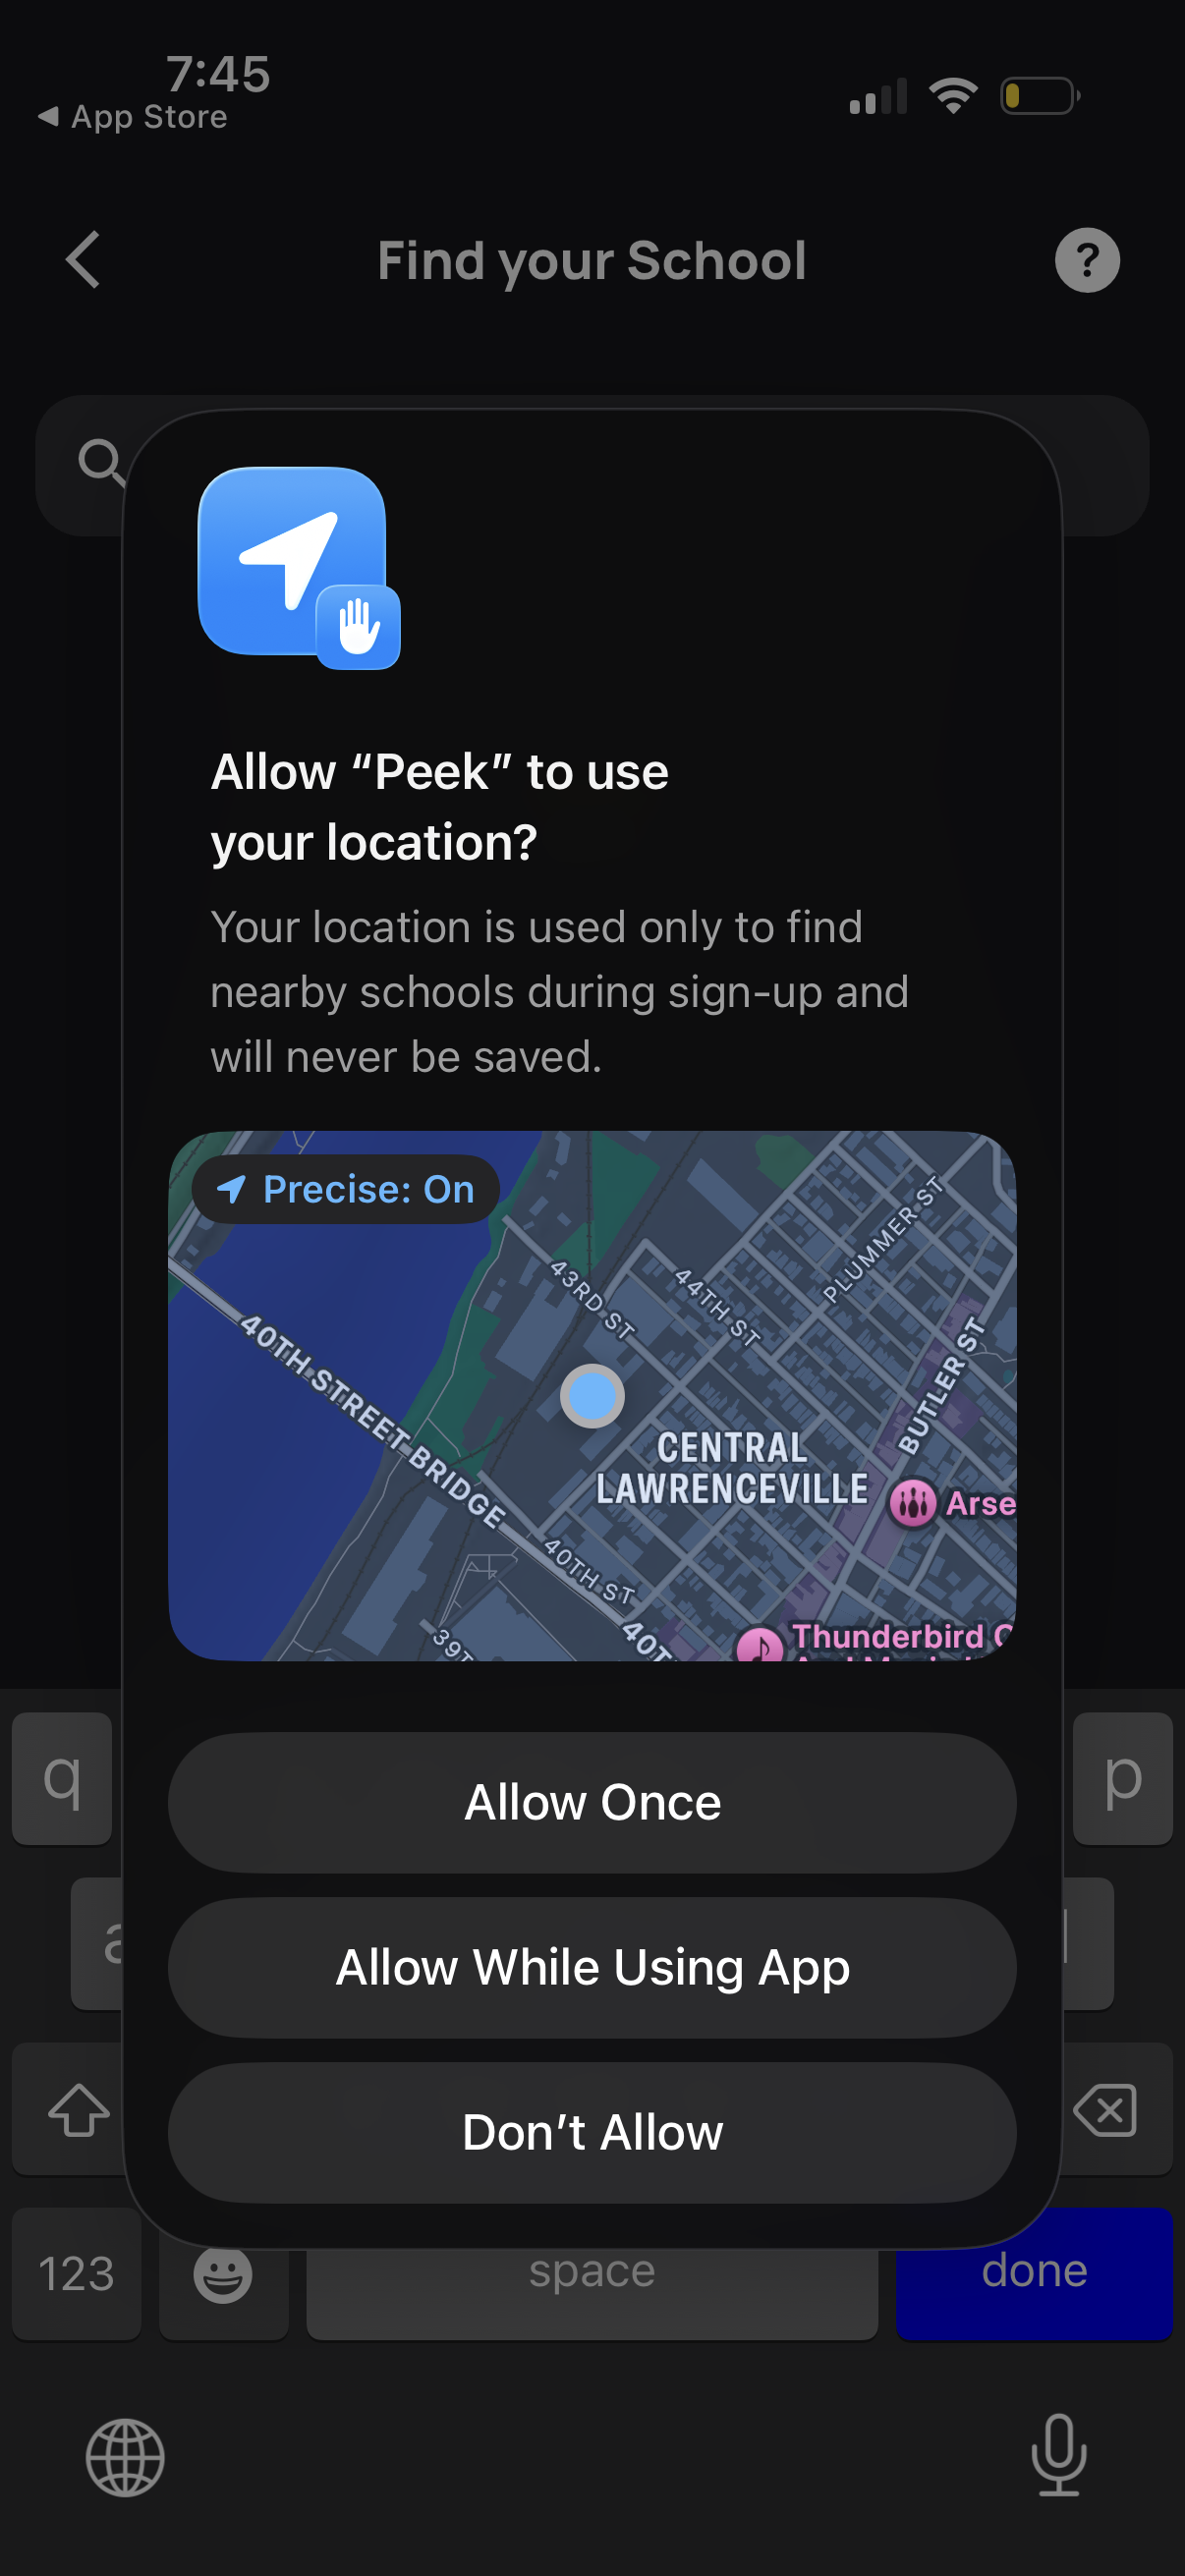
Location permission prompt shown during a “Find your School” onboarding flow, explaining location is used to find nearby schools and won’t be saved. User can choose Allow Once, Allow While Using App, or Don’t Allow, with a map preview of current location.
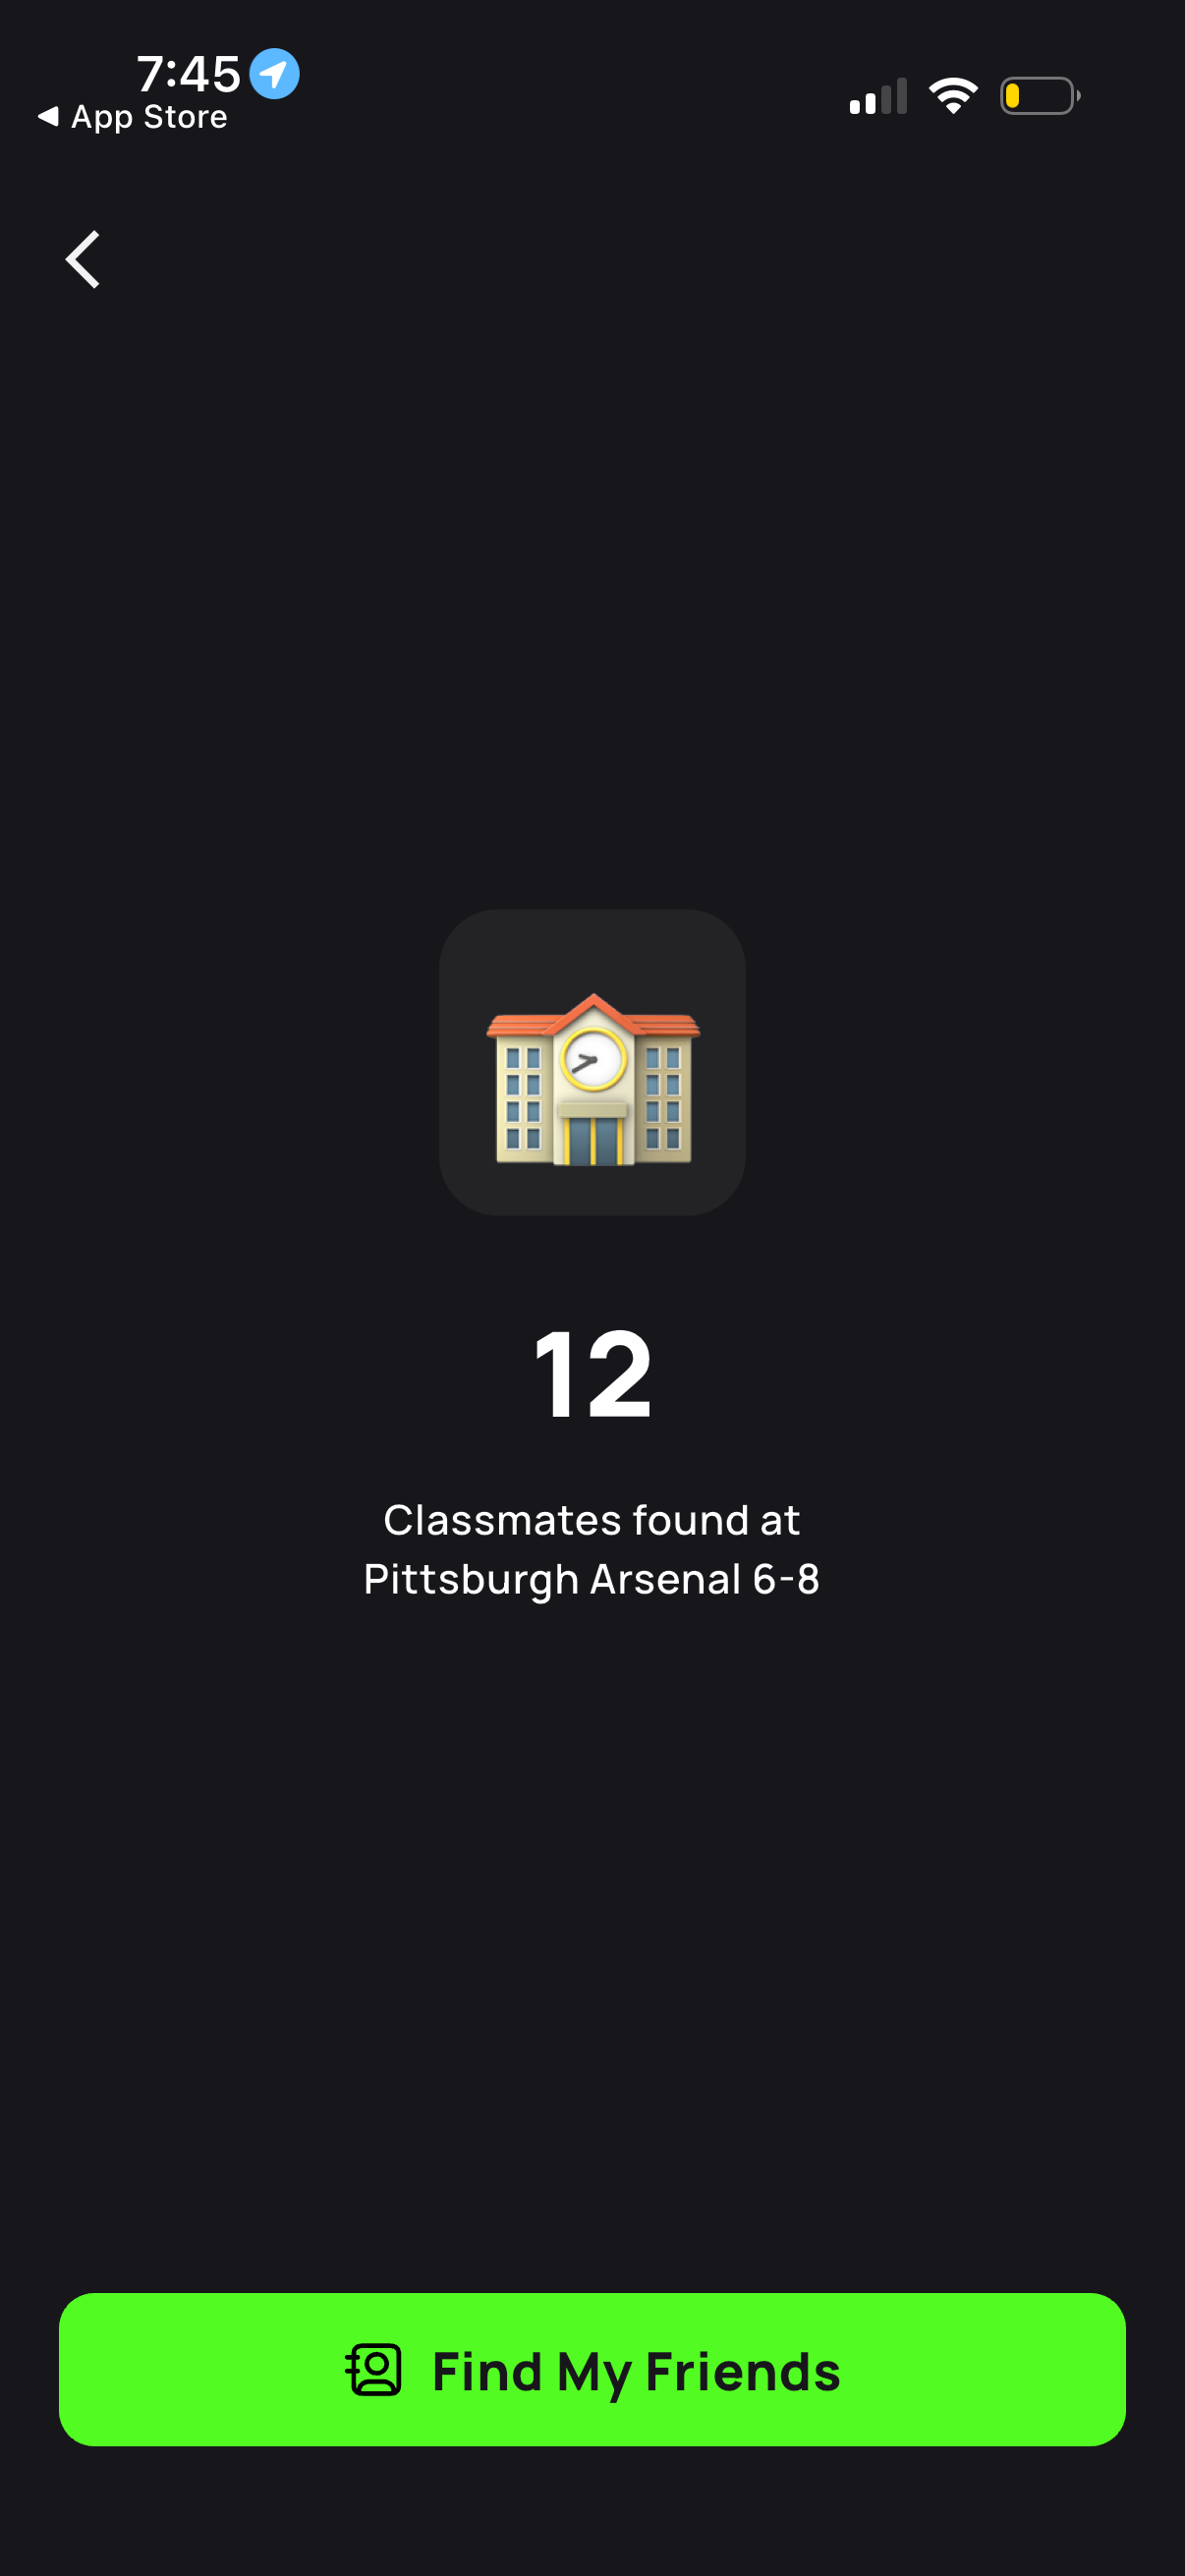
A results screen showing the number of classmates found for a selected school, with the school name displayed under a large count. Provides a prominent “Find My Friends” call-to-action button to start connecting with or searching for friends.
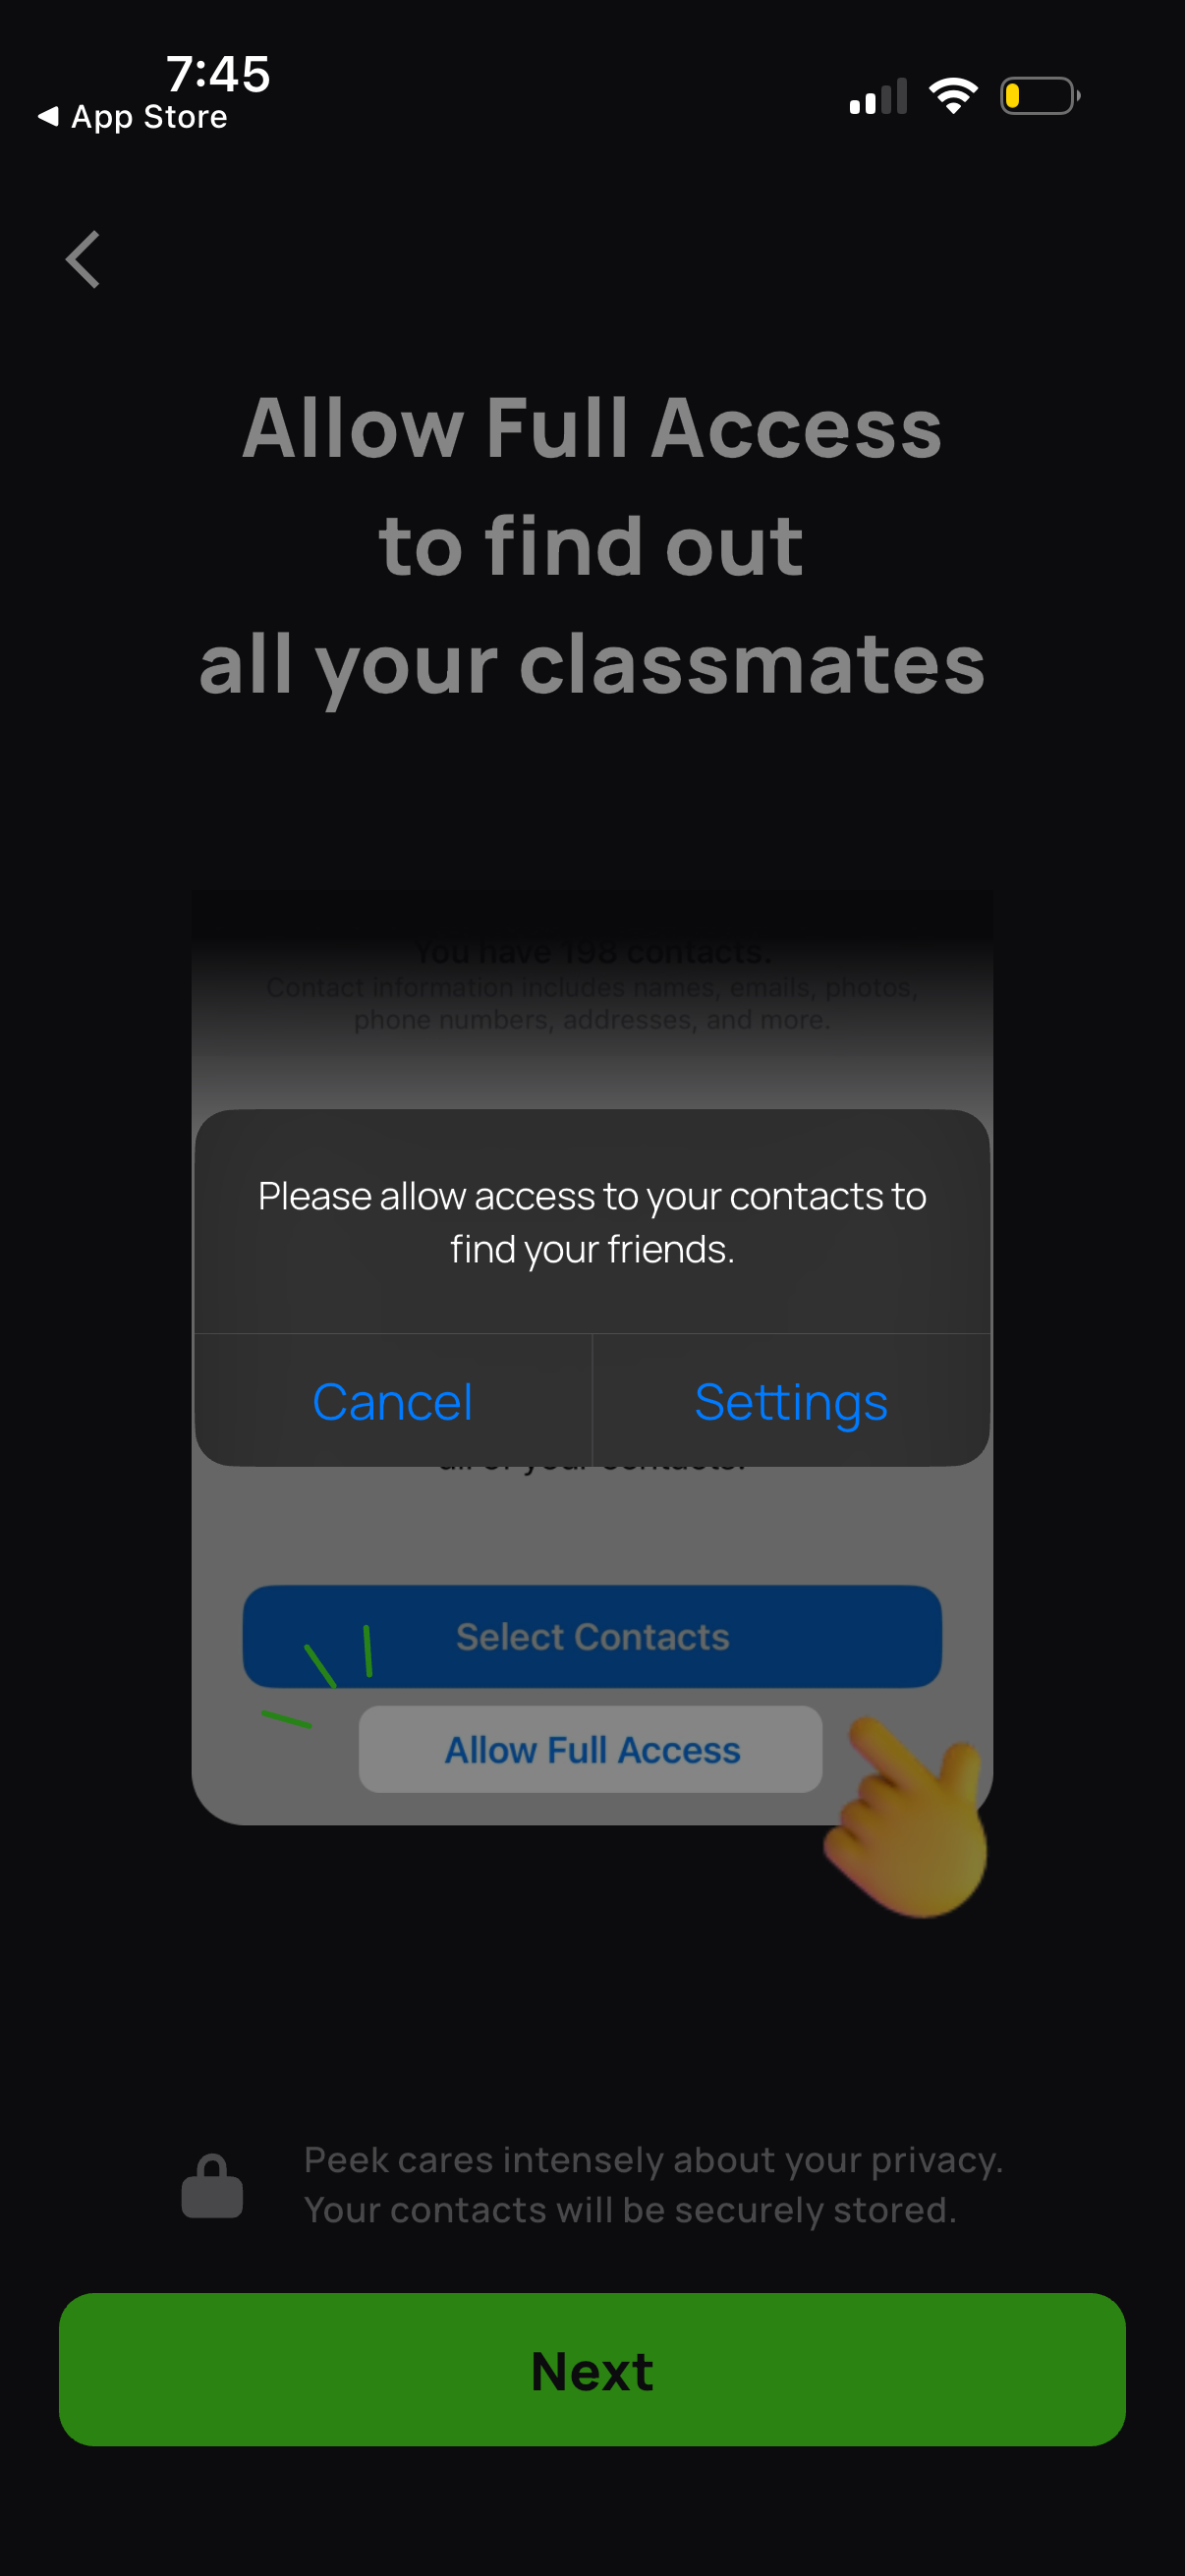
Onboarding permission screen prompting the user to allow full access to their contacts to find friends/classmates, featuring an iOS-style system dialog with Cancel and Settings options. Includes a “Select Contacts”/“Allow Full Access” call to action and a primary Next button to continue.

Onboarding permission screen prompting the user to allow full access to Contacts to find classmates/friends, showing the native iOS contacts access modal with “Don’t Allow” and “Continue. ” Includes privacy reassurance text and a primary “Next” button to proceed after handling the permission request.
Onboarding permission screen prompting the user to allow full access to their contacts to find friends/classmates, featuring an iOS-style system dialog with Cancel and Settings options. Includes a “Select Contacts”/“Allow Full Access” call to action and a primary Next button to continue.