Onboarding

Moovit app splash/loading screen with a full orange background and centered logo/wordmark, shown while the public transit navigation app launches.
Transit app welcome/get started screen showing the Moovit logo and tagline, with a primary “Get started” CTA to begin onboarding. Includes legal consent text with links to Terms of Use and Privacy Policy and a notice about location data collection and privacy settings.
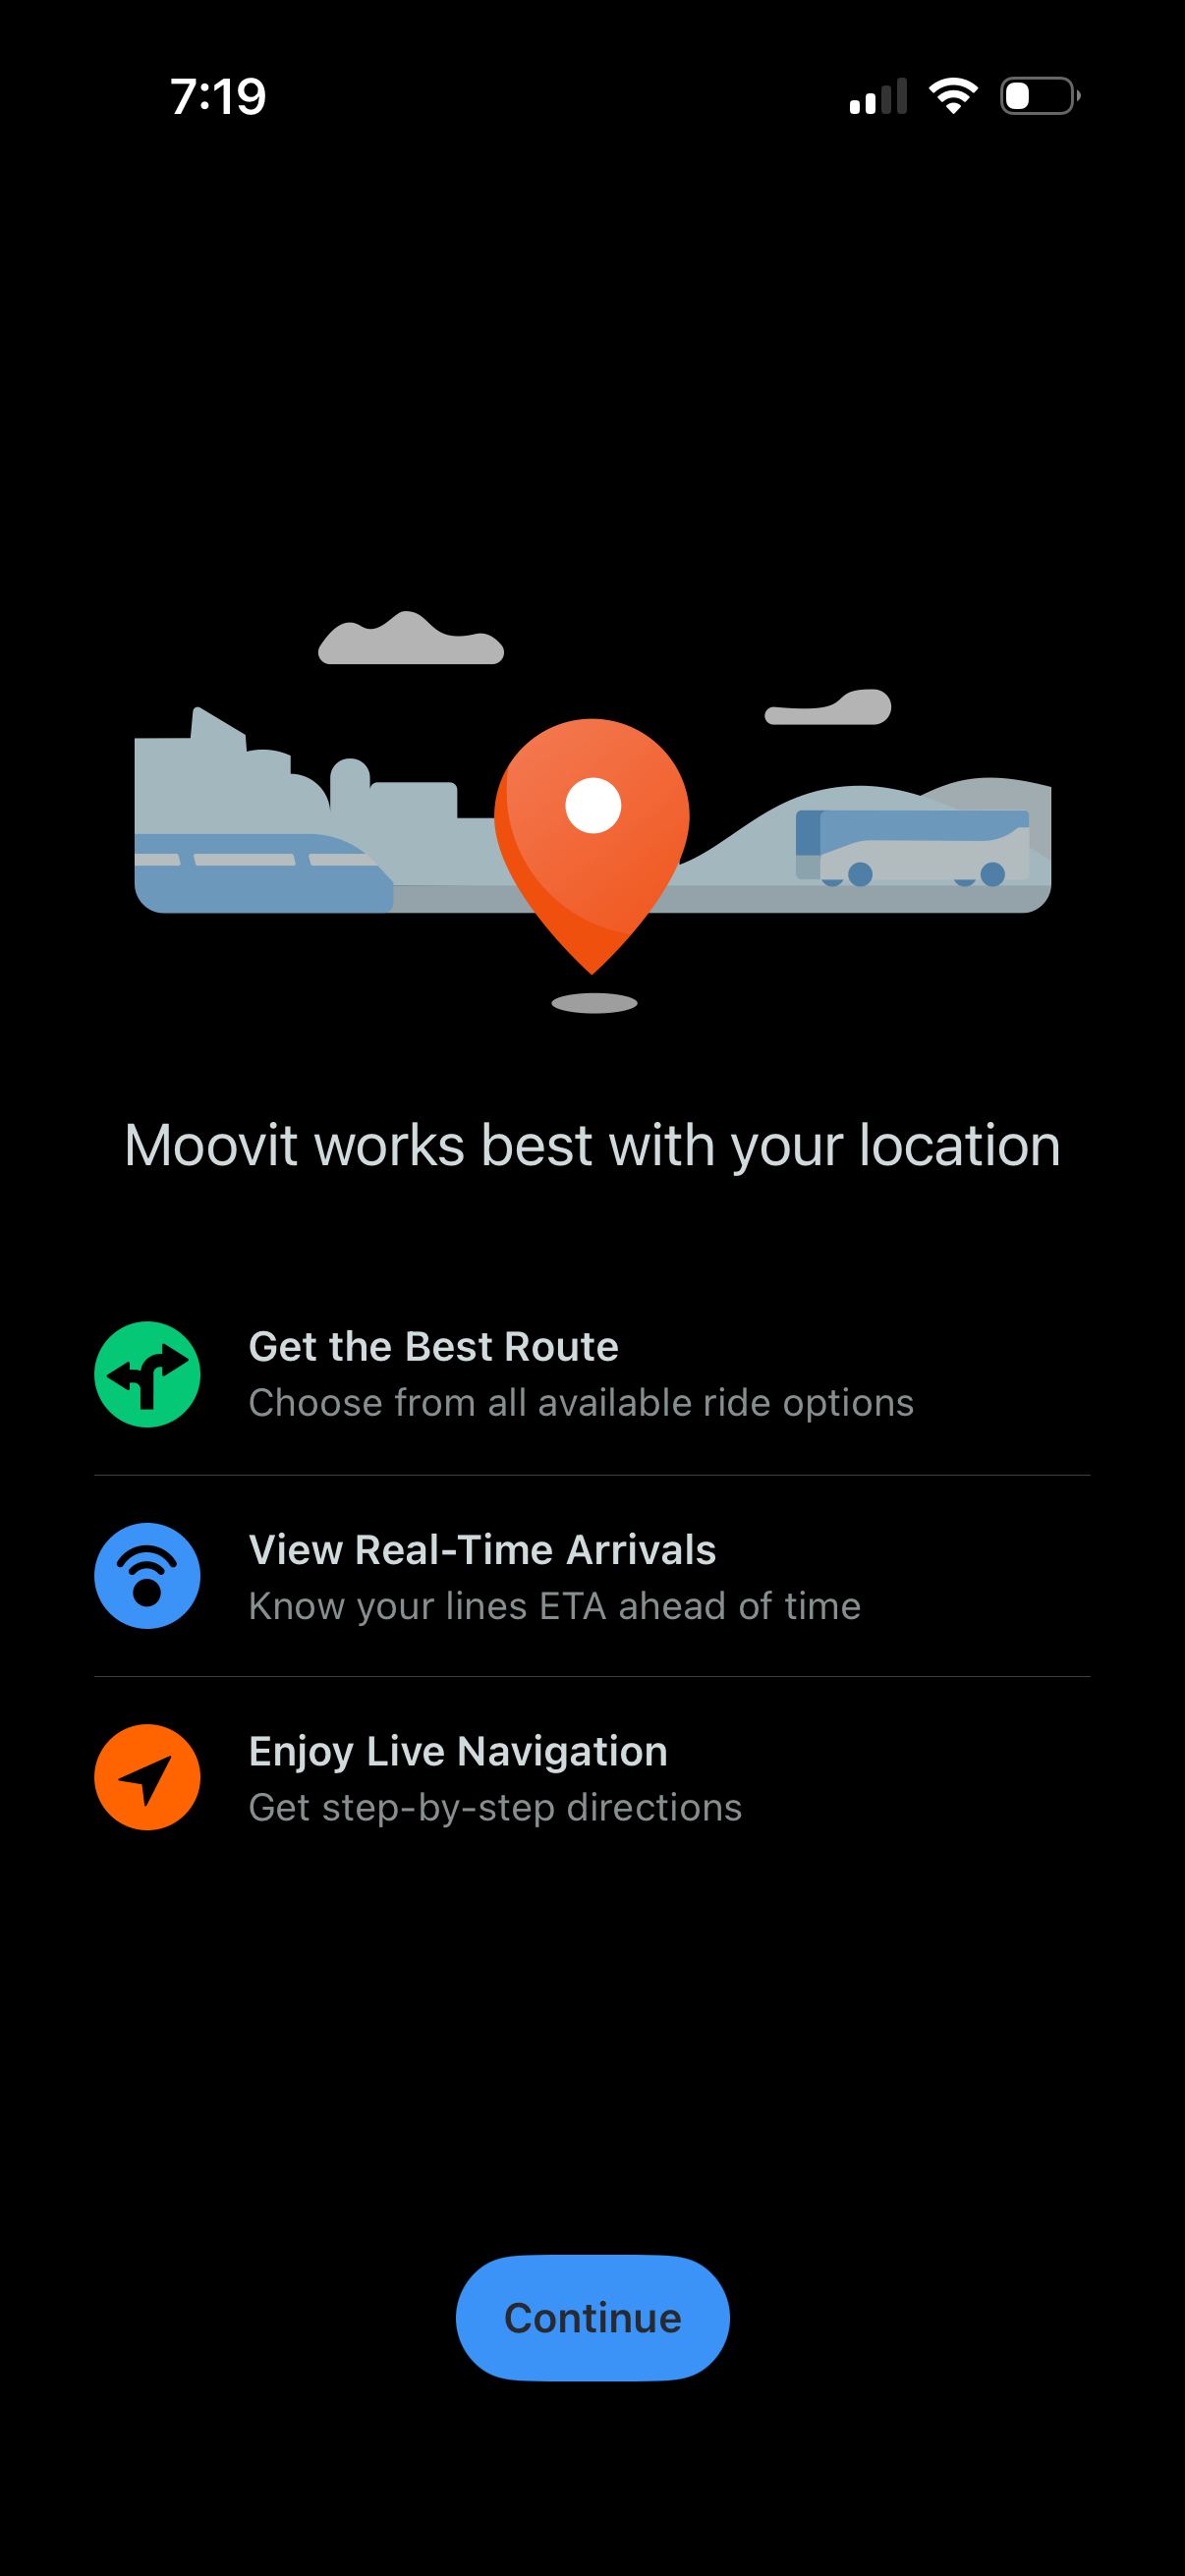
Location permission onboarding screen for a public transit/navigation app explaining why it needs your location to find the best route, show real-time arrivals/ETAs, and provide live step-by-step navigation, with a primary Continue button to proceed.
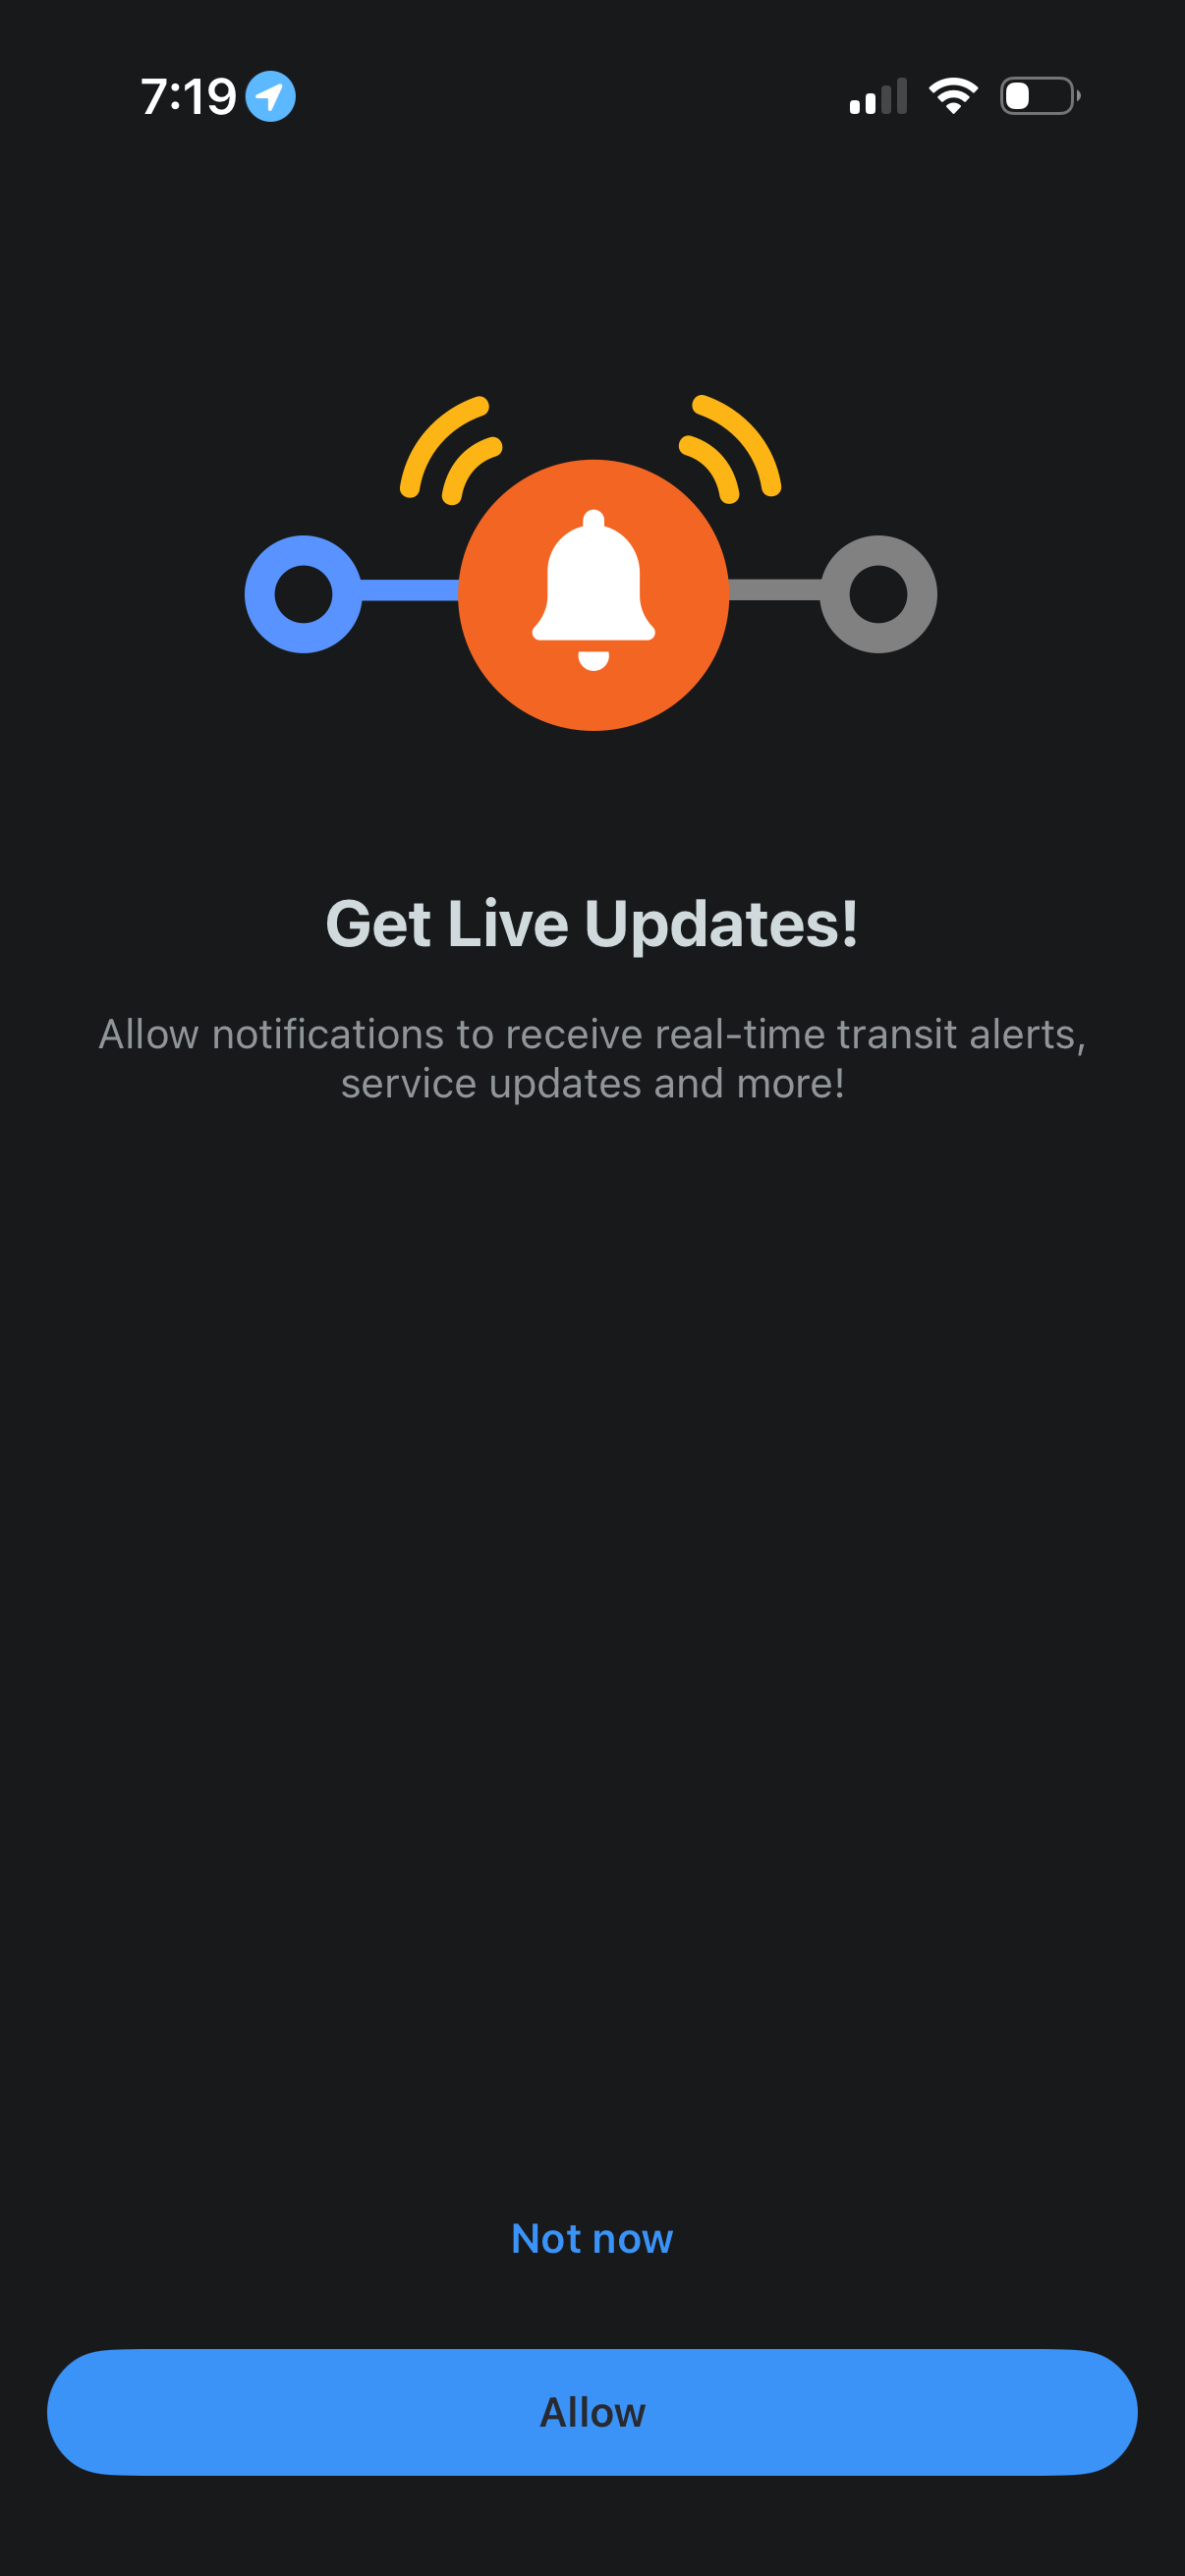
Push notification permission prompt encouraging users to enable live updates for real-time transit alerts and service changes. Provides primary action to Allow notifications and a secondary option to skip with Not now.
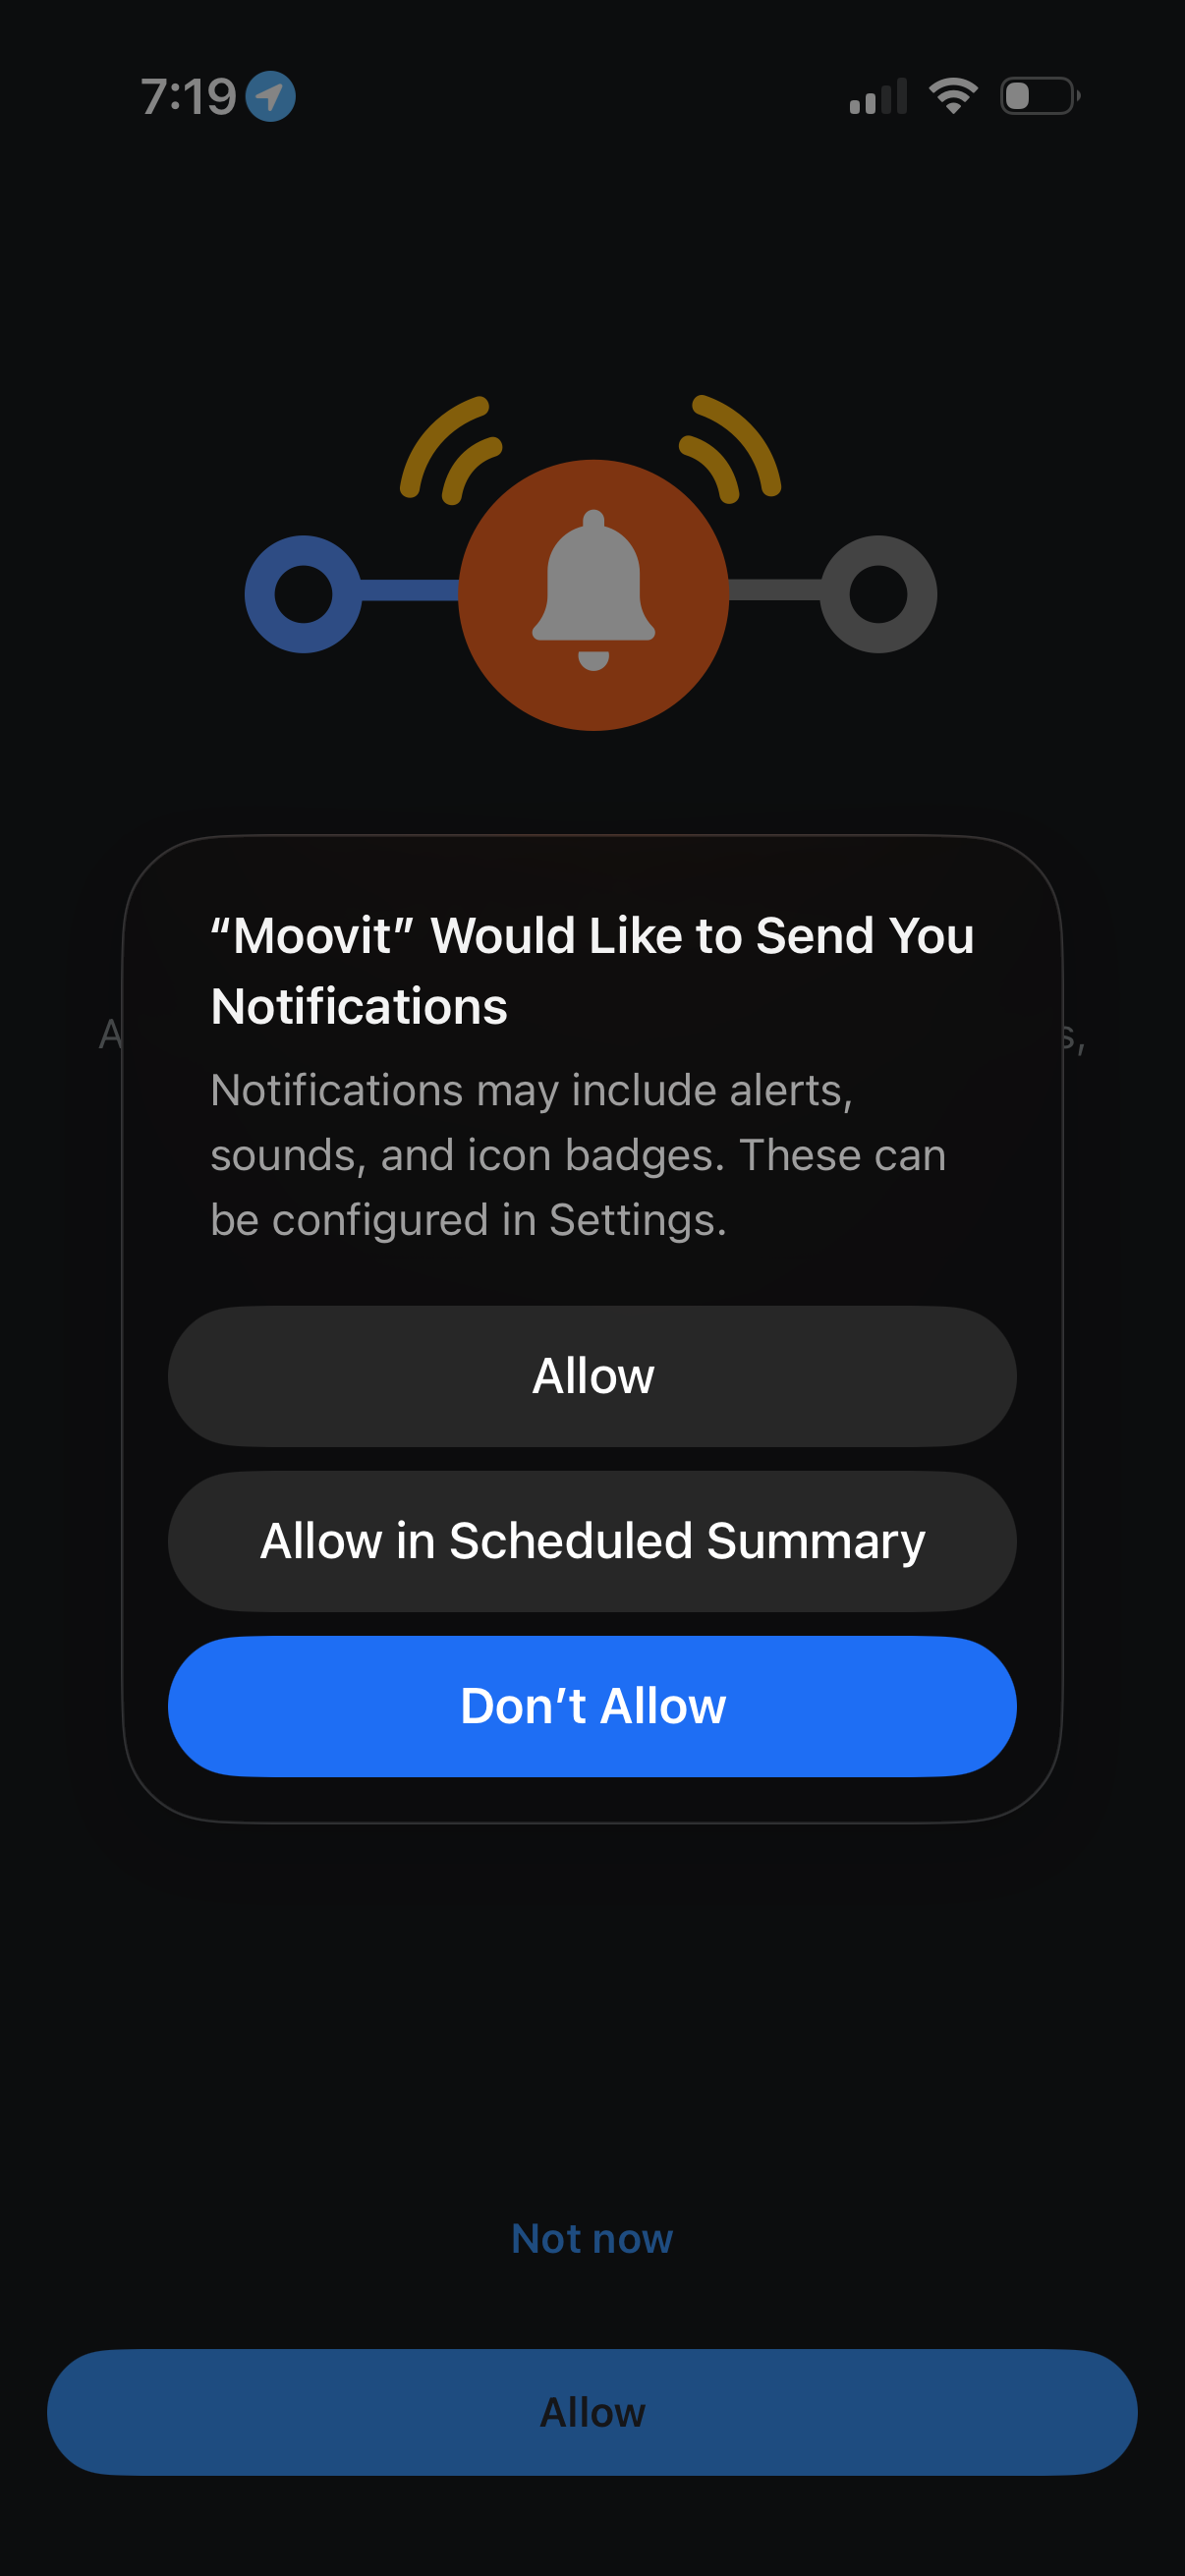
iOS system permission prompt asking the user to enable push notifications for an app, explaining that alerts, sounds, and badges may be used. Provides three actions: Allow, Allow in Scheduled Summary, or Don’t Allow.
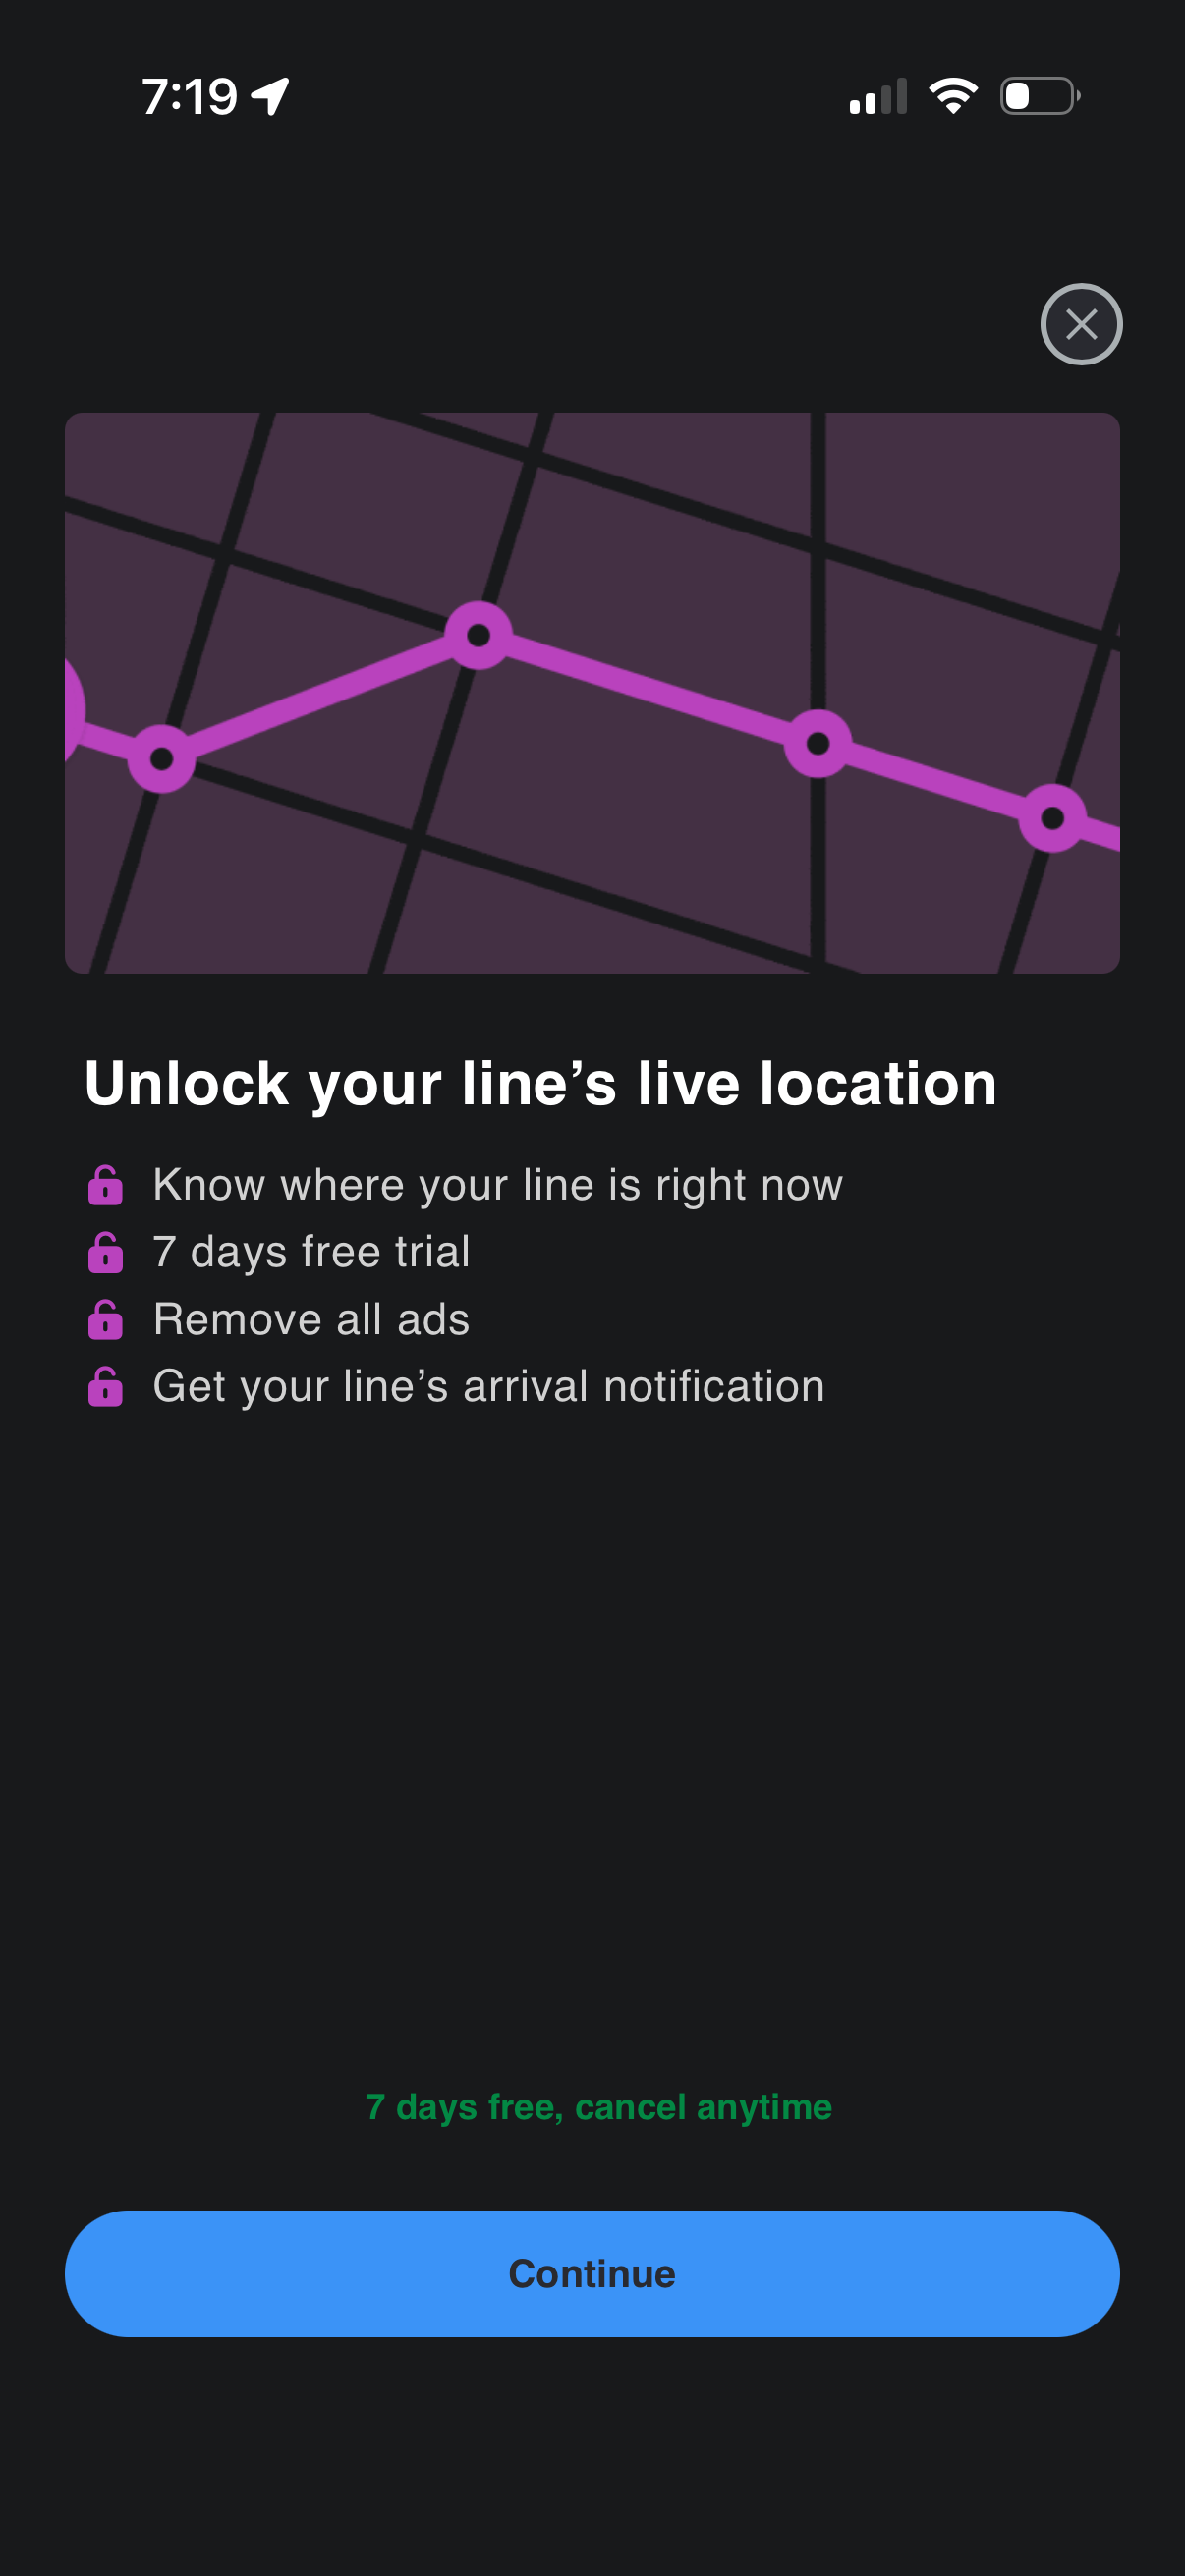
Subscription upsell/paywall screen prompting users to unlock live location tracking for a transit line, highlighting benefits like real-time line status, arrival notifications, and ad removal with a 7-day free trial. Includes a primary “Continue” CTA to start the trial and a close button to dismiss.
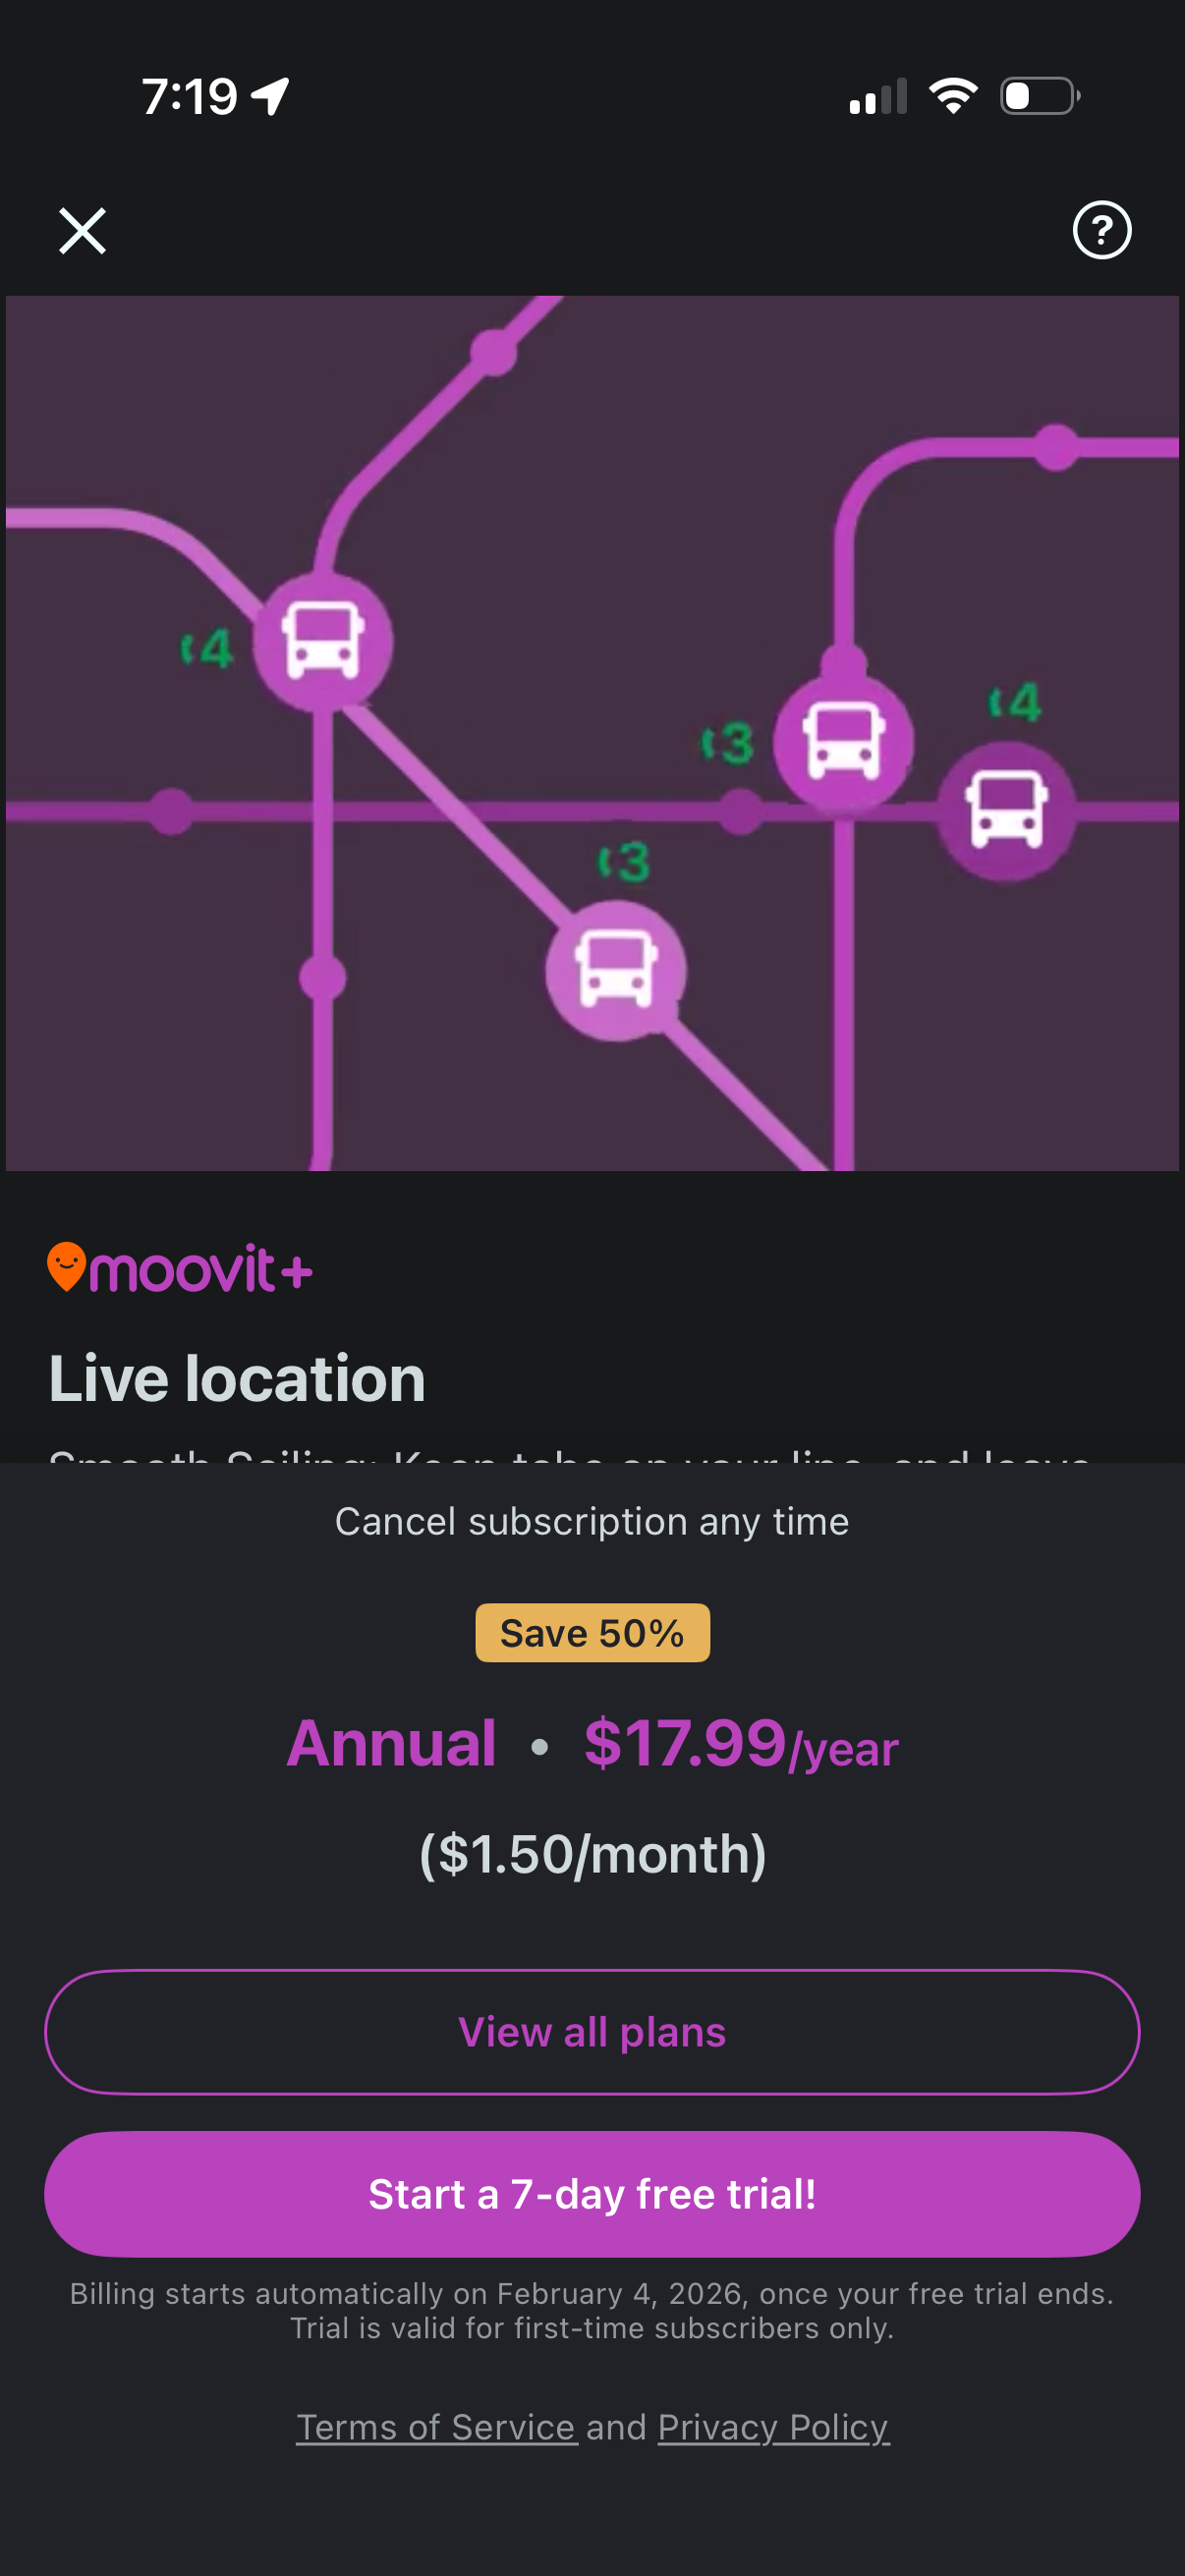
Subscription upsell screen for a transit app promoting a “Live location” premium feature, with a map preview and annual pricing details including a discount. Primary actions include starting a 7-day free trial or viewing all plans, with notes about cancelation, billing, and terms/privacy links.